> ## Documentation Index
> Fetch the complete documentation index at: https://docs.userpilot.com/llms.txt
> Use this file to discover all available pages before exploring further.
# Hotspots
> Hotspots are dynamic, flashing icons that appear on a selected element in your app until the user clicks or hovers over it.
## **Overview**
Hotspots are dynamic, flashing icons that appear on a selected element in your app until the user clicks or hovers over it. This subtle but effective tool is ideal for drawing attention to specific elements within your app, guiding users' focus without being too intrusive.
## **Use Cases**
* Draw attention to important elements within your app, such as new features or buttons.
* Use Hotspots as part of your onboarding process to guide users toward specific actions.
* Increase interaction by directing users to elements they might have missed or overlooked.
## **Creating a Hotspot**
Adding a Hotspot to your application is simple and quick with Userpilot:
1. **Launch Userpilot**: Open the Userpilot Chrome extension and navigate to the page where you'd like to create the Hotspot.
2. **Start Creating**: Click on "Start here" and select "Create a Spotlight."
3. **Choose Your Theme**: After naming your Spotlight, select your preferred theme.
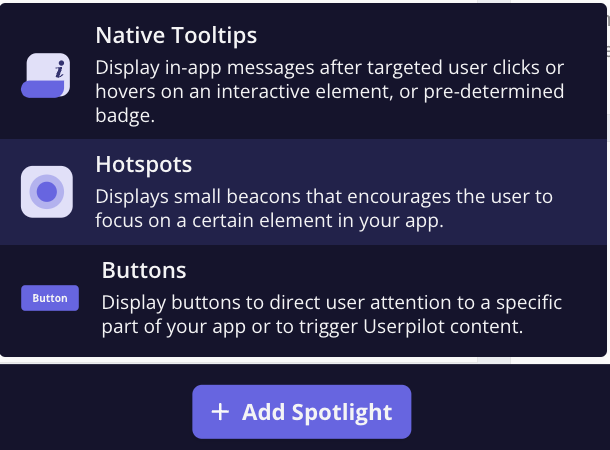
4. **Add Hotspot**: Click the "Add Spotlight" button and choose **Hotspots** from the available options.
5. **Choose Hotspot Placement**: A highlighted rectangle will follow your cursor on the screen, helping you select the exact location for your Hotspot within the app.
6. **Adjust Settings**: Using the settings and design side panel, fine-tune the Hotspot's placement, behavior, frequency, and design to suit your needs. These options are detailed below.
***
## **Hotspot Settings & Design Panel**
Once you’ve created your Hotspot, a settings panel will appear, enabling you to customize your Hotspot’s placement, behavior, frequency, and design.
Pre-define the look and feel of your Hotspots in the [**Theme**](https://run.userpilot.io/themes) **settings** within your Userpilot account.
#### **Settings Options**
The following sections are available under the **Settings** tab:
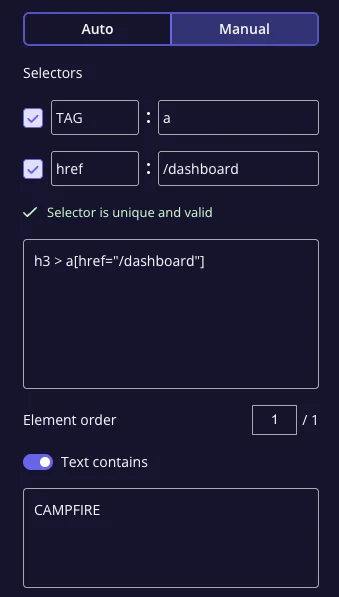
* **Element**: The selected element is automatically detected by Userpilot, but you can manually specify it by enabling the 'Text contains' option or specifying a unique CSS selector to ensure proper detection. Example of the **Text contains** option:
* **Text contains**: Allows you to target elements with specific text.
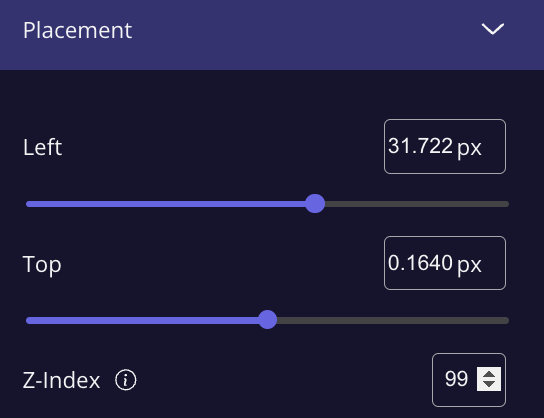
* **Placement**: Adjust the direction and position of your Hotspot to ensure it appears exactly where you want it.
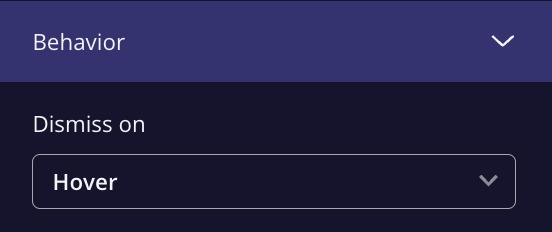
* **Behavior**: **Dismiss on**: Choose whether the Hotspot will be dismissed upon hover or click.
#### **Embedding Options**
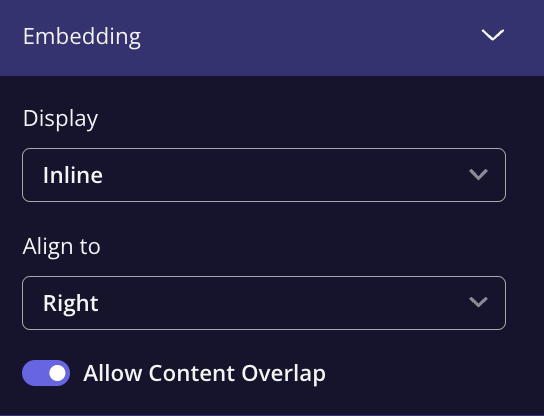
There are two main ways to embed your Hotspot, allowing for flexibility in how it behaves on your app:
* **Overlay**: In this approach, the Hotspot is positioned above the app's interface. The system periodically recalculates the correct position to ensure it remains in place as users scroll the page or interact with the app. However, this method can cause issues with certain elements, like when dragging and dropping.
* **Inline**: Inline embedding places the Hotspot within the app’s HTML structure. This option makes the Hotspot scroll smoothly as users interact with the page, ensuring it feels native to the app layout. It’s responsive on different devices and does not experience the positioning issues of the Overlay approach.
#### **Frequency**
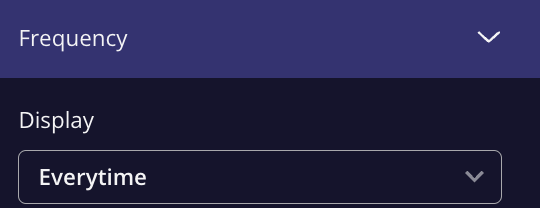
Once your Hotspot is set up, you can control how often it will appear for users:
* **Once**: The Hotspot will show only once and will be dismissed once the user interacts with it.
* **Every time**: The Hotspot will trigger each time the user visits the targeted page.
#### **Design Options**
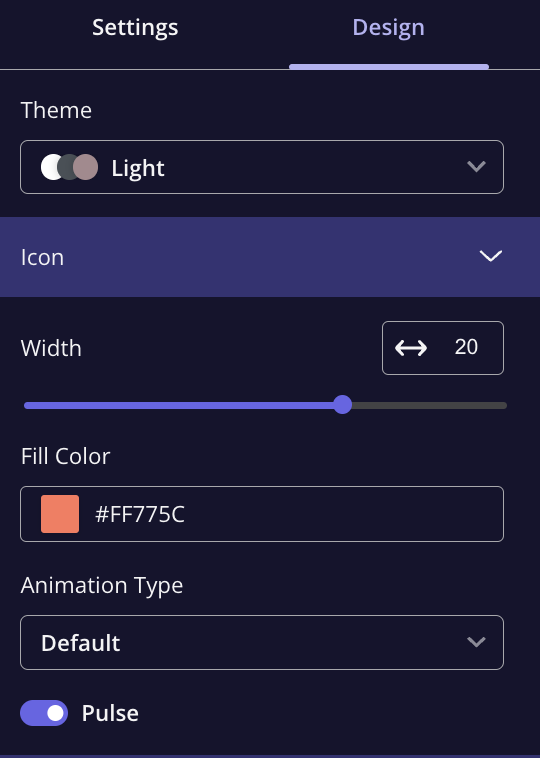
Under the **Design** tab, you can customize your Hotspot’s appearance by adjusting the following:
* **Width**
* **Color**
* **Animation Type**
This gives you full control over how the Hotspot will visually integrate into your app, ensuring it aligns with your branding and user experience goals.
***
### **FAQs**
You can adjust the animation type under the **Design** tab, allowing you to choose a style that fits your app’s look and feel or you can create a custom css theme to achieve the desired effect.
[**For any questions or concerns please reach out to support@userpilot.com**](mailto:support@userpilot.com)