Overview
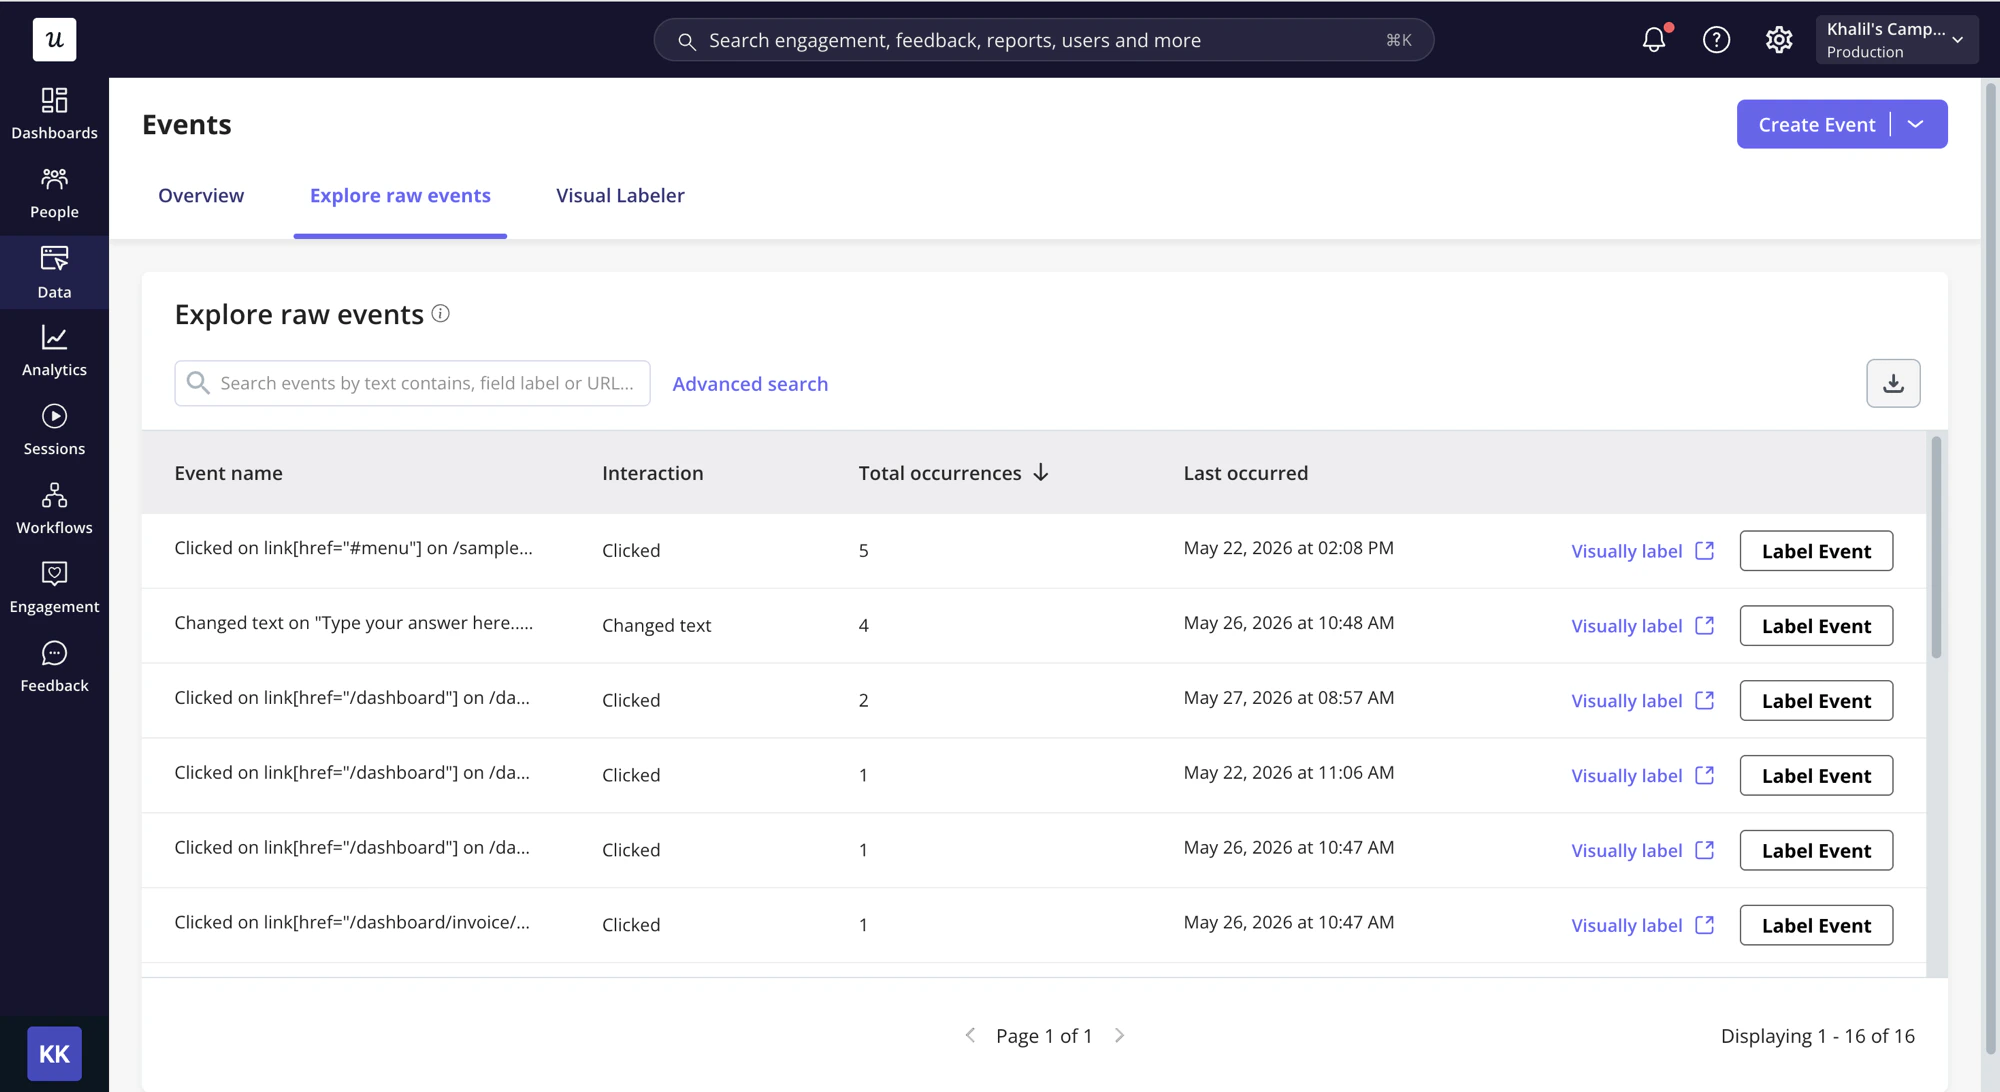
Userpilot’s raw events auto-capture automatically captures Clicks, Text Inputs, and Form Submissions, so you don’t need to visually label events with the Chrome extension; you can label them directly from the auto-capture events page. It starts collecting data the moment auto-capture is enabled, reflected in Userpilot in real time. Auto-capture powers advanced segmentation, content triggering, and analytical reporting, letting nontechnical teams (product and UI/UX) and even stakeholders make data-driven decisions.Use Cases
- Surface your most interacted-with features by occurrence count, then easily flag and label the important ones
- Get an intuitive view of feature usage and where users spend their time on your product
- Once labeled, use the events to trigger content and track user activity for segmentation
Raw Events Auto-Capture Enabling/Excluding
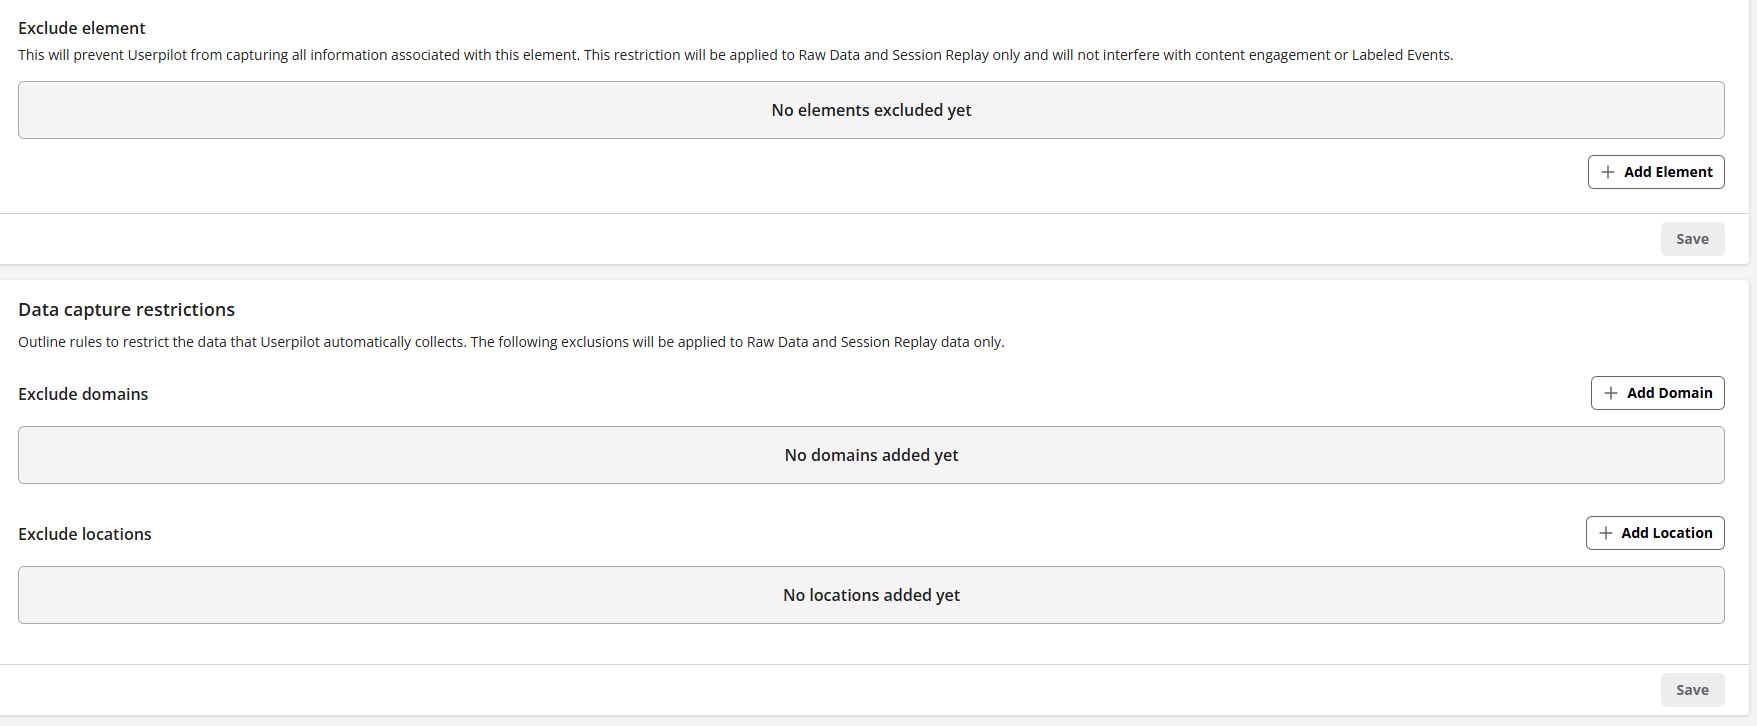
Under Configure - Settings, raw events auto-capturing can be enabled/disabled. This has to be enabled for Userpilot to collect users’ interactions (clicks, text input, form submissions).
Types of interactions captured
- Click: Any clicks on a button, link, or element (meaningful clicks/actions). In other words, clicking buttons with underlying mutations, links, or elements, each with a descriptive title.
- Text Input: Typing a character or more into a text field, with each interaction tied to the field’s placeholder or input name. The description may include the placeholder text or the input name, depending on the field.
- Form Submission: The user submits a form, typically via a button or submit input which triggers the underlying action or mutation to process the data entered in the form.
Labeling Raw Events
This is only available for Growth & Enterprise plans
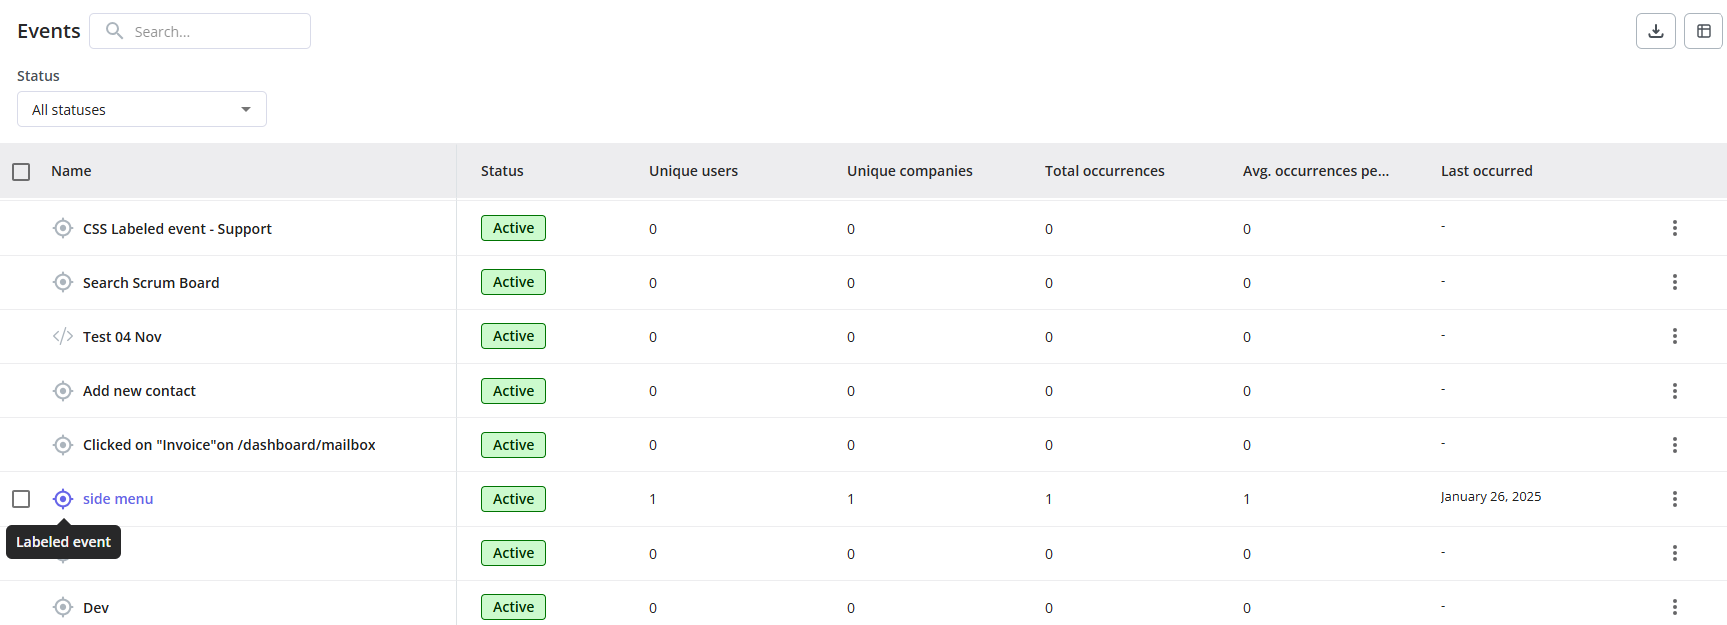
Once you label a Raw Event, its historical data (collected before labeling) becomes available in Event Overview and Analytics (report creation). Segments and Content Triggering, however, only consider data collected after the event was labeled.
Supported CSS Selectors for Autocapture Raw Events
- Tag Name
- Tag Name with Class/ID
- Nth-child
- Attribute Selectors
- Combinators
Examples:
div, span, button, a, form, font, path, svg, input, etc…FAQs
How do Raw Events give better insights on what to track?
How do Raw Events give better insights on what to track?
Raw Events start to collect data once Userpilot is installed on your web app and auto-capturing is enabled, meaning that you would start collecting data on all your users’ interactions giving measures on your user behavior and what to track to be used in analytics, content triggering, targeting, and segmentation.
Are Raw Events supported in Integrations?
Are Raw Events supported in Integrations?
Yes, after labeling the raw events, you can send them through our HubSpot, Salesforce, and Webhook integrations. We do have plans to add labeled events to our native integrations as well.