Documentation Index
Fetch the complete documentation index at: https://docs.userpilot.com/llms.txt
Use this file to discover all available pages before exploring further.
Domain Targeting
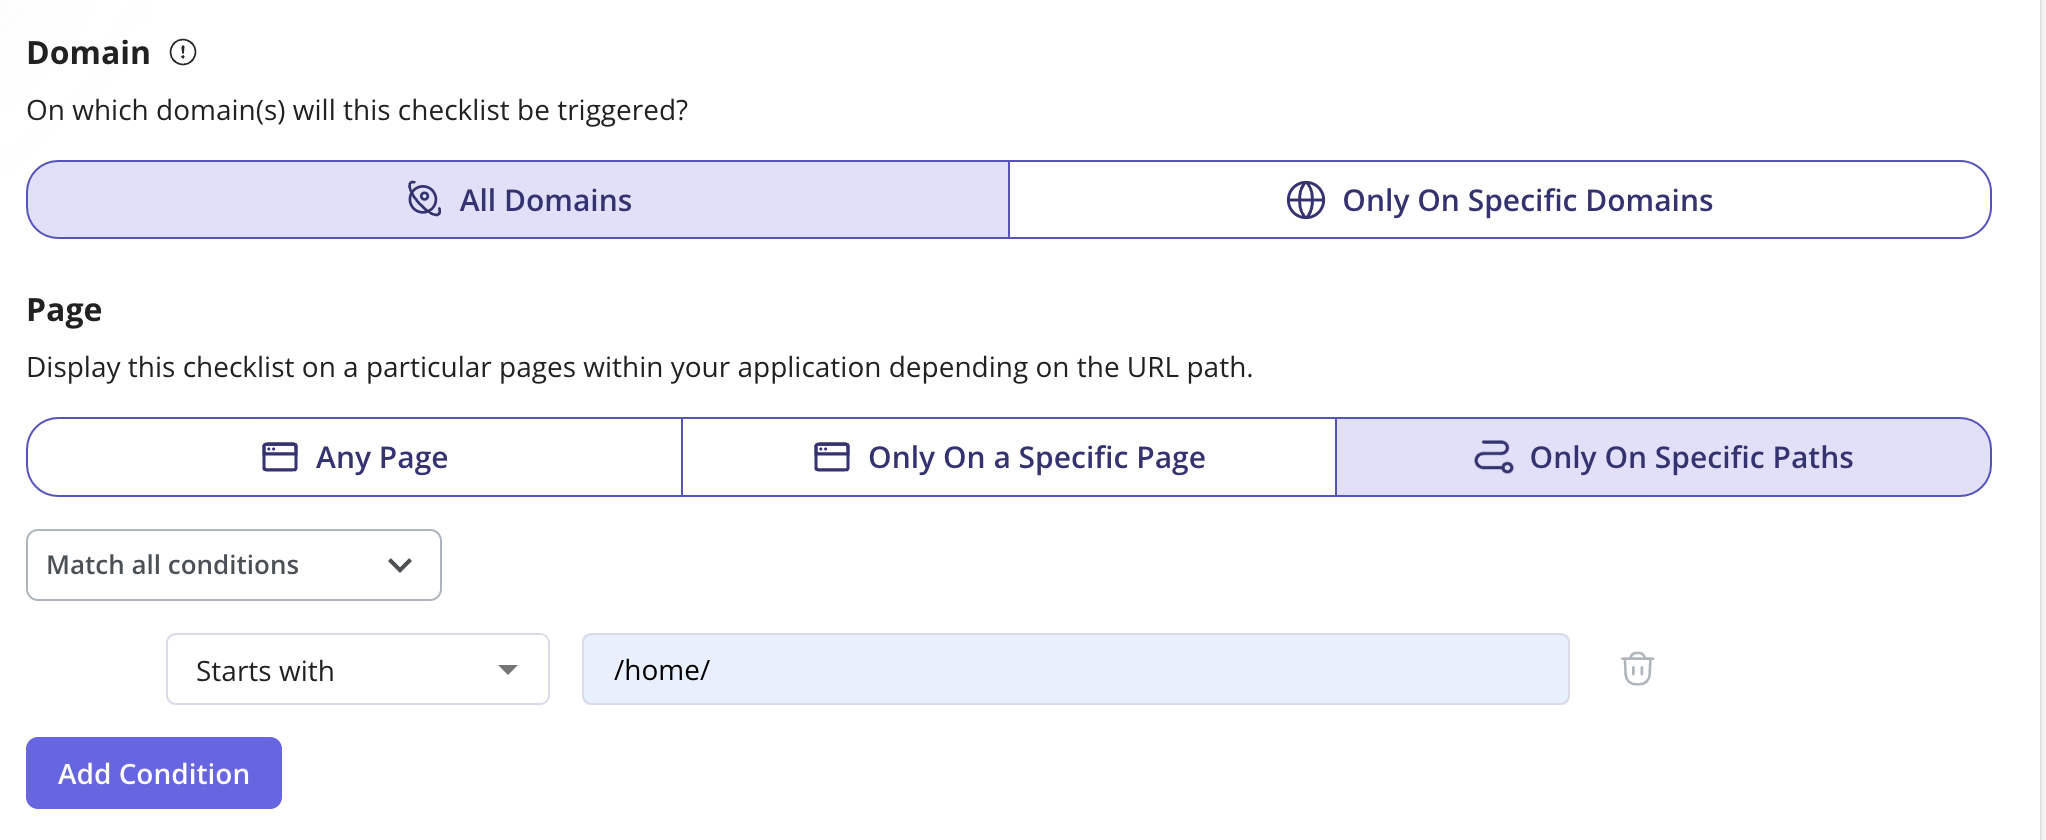
When you’re finished designing your Beacon, you can move on to Page Settings. Page Settings let you choose where you want your checklist to be triggered. You can set it to trigger on all domains or select a specific domain. The same applies to Pages and Audiences.Options
- All domains (Default): This will show the Checklist on all domains that have the Userpilot snippet installed
-
Specific domain: Specify which domain(s) or sub-domain(s) the Checklist should appear on.
Note: You can list all the domains that you have Userpilot installed on the Environments tab to automatically find the domains listed in the drop-down.
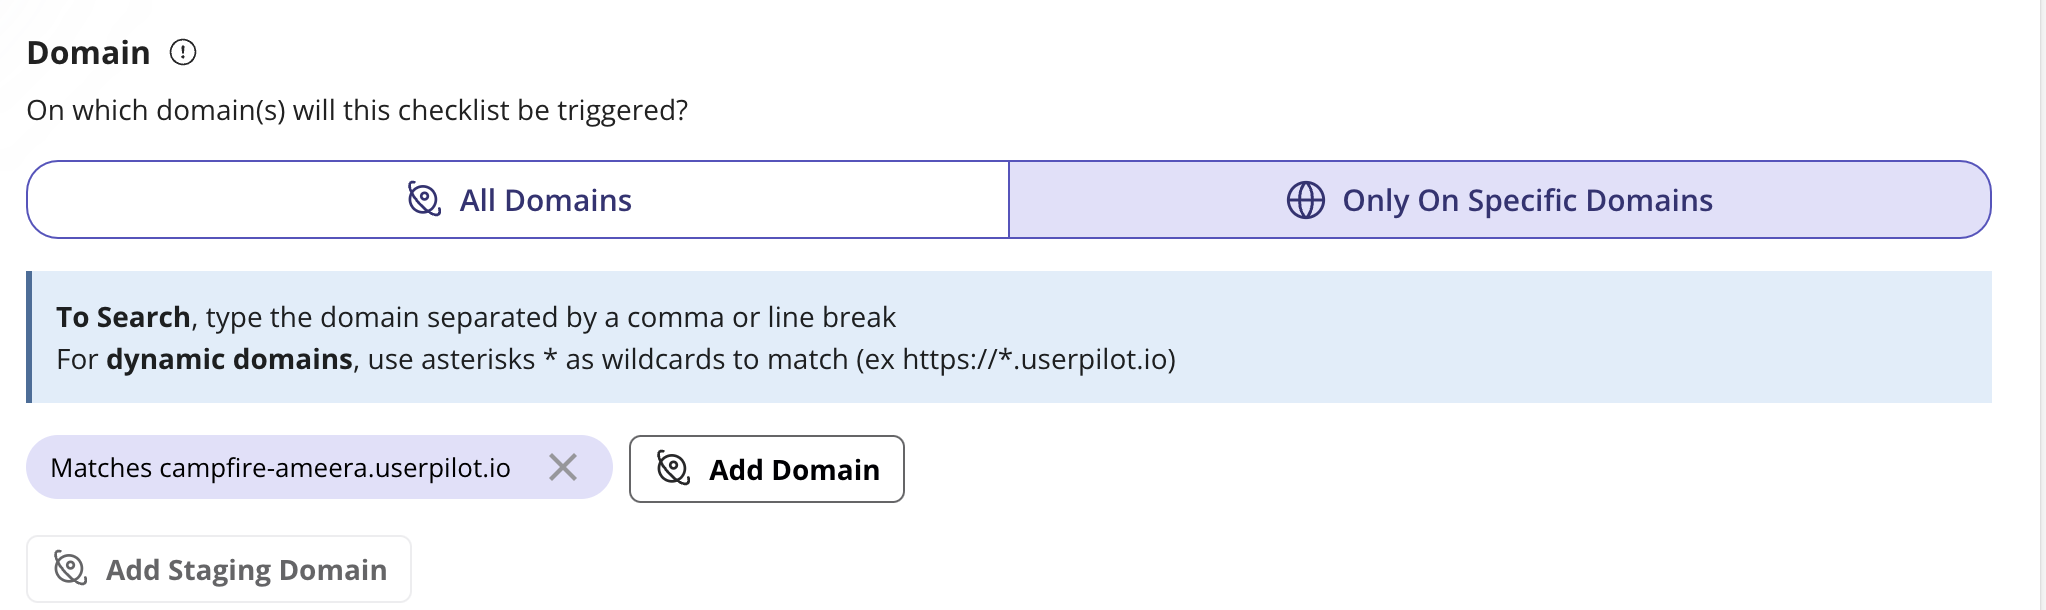
Pro tip: Specific domains can be extremely helpful while testing the Checklist on your testing environment.
Page Targeting
This section will allow you to specify where to show the Checklist based on the URL the user is currently on.Options
- Any page (Default): This will show the Checklist on any page that has the Userpilot script installed
- Only on Specific Paths: Here you can limit the Checklist to be shown on specific URL path(s) within your web app.
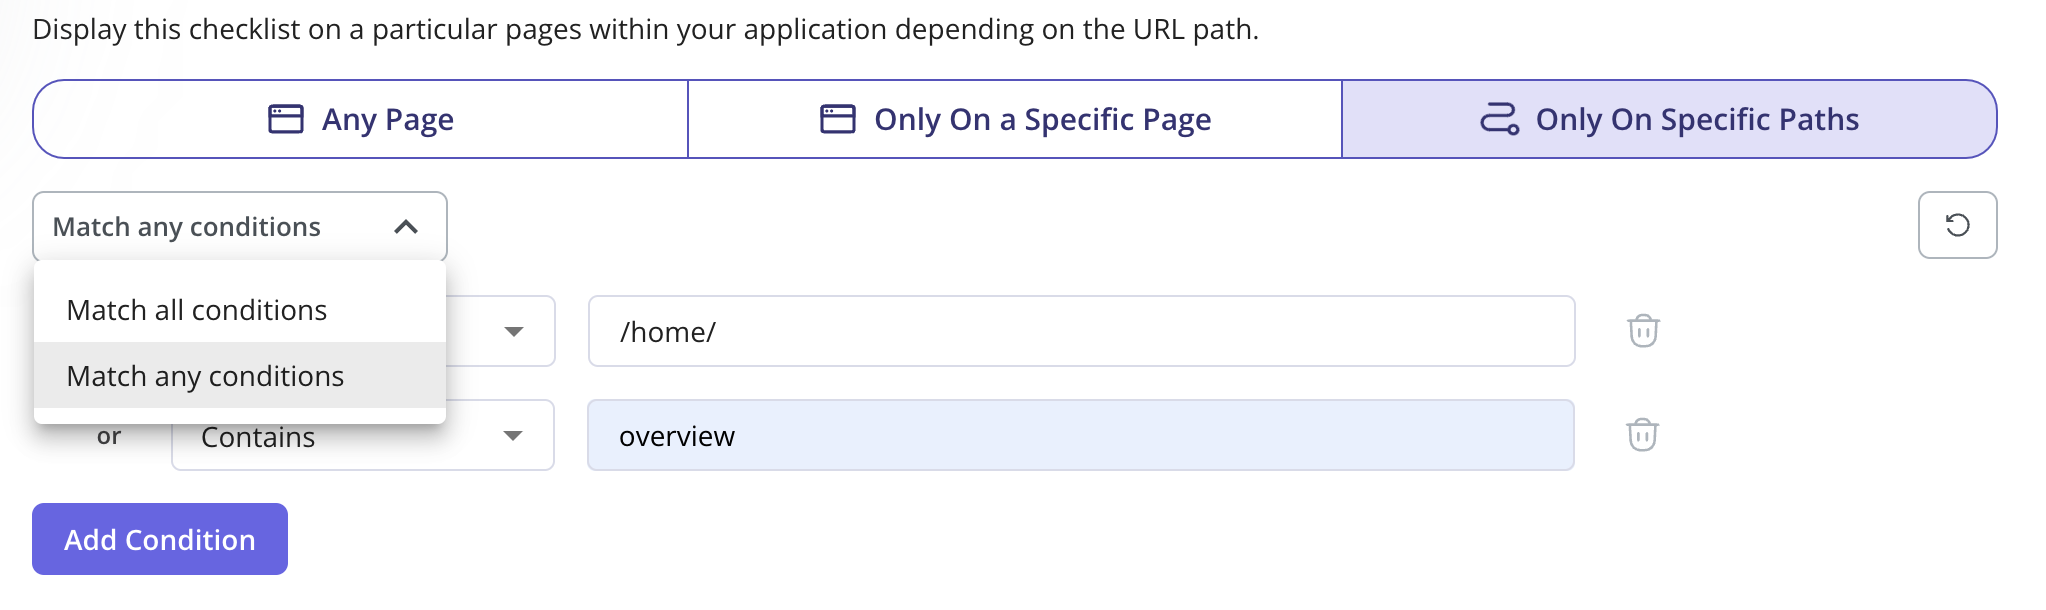
What if my URL contains dynamic URL paths?
In the case of dynamic URL paths, you can select the page condition Match Regex and replace the dynamic part of the URL with an asterisk.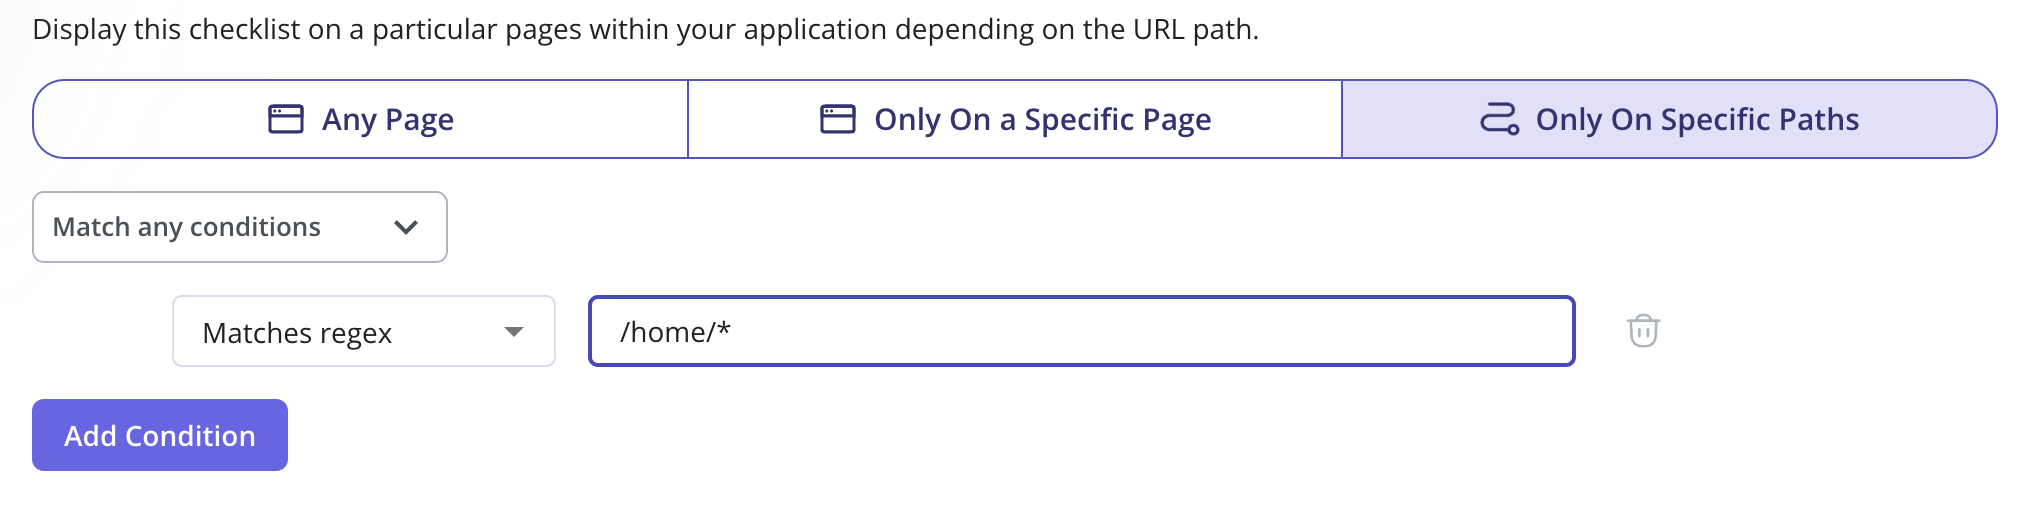
Audience targeting
Audience targeting is important in deciding who should see the module in the Checklist.Options
- All Users (Default): Show the Checklist to any user that visits the page(s) where the Checklist is shown
- Only Me: Show the Checklist only to your colleagues who are in your Userpilot account and have the Chrome extension installed.

- A Specific Segment: Show the Checklist to a specific segment you’ve previously specified from the Users page

- Users That Match Specific Conditions: Narrow down the eligibility of your users to see the module by a single or a combination of operators; namely: User Properties, Segments, Form Responses, Gear, Location, Flow Events, NPS Events, and Tracked Events.

If a user is not eligible to see any of the modules listed in the Checklist, then the beacon will not appear.

The green “Live” icon indicates that all changes have been successfully pushed to the live version. Conversely, a yellow “Live” icon signals that some changes haven’t been applied to the live version yet, prompting you to push the updates to ensure they appear live.
FAQs
If a user dismisses a checklist and a new task is added, will it reappear?
If a user dismisses a checklist and a new task is added, will it reappear?
If the Checklist is set to dismiss when it is manually dismissed by a user, then it would not reappear when a new task is added.