Checklist Triggering
Leverage the use of the Checklist by triggering it in the right place, and at the right time. When creating your Checklist, you must set up a trigger that will cause your widget to appear. You are provided with three options for this feature:
1. Beacon (Most Commonly Used)
If the user is evaluated as eligible to see the Checklist, the widget can be launched after clicking or hovering on the displayed beacon. You can specify the eligible users based on page, domain, and audience targeting as described in this article.2. Element Click
If you would like to trigger the Checklist when the user clicks on a specific element in your web app for the widget to be shown. Once selected, you can specify the CSS selector for the target element in Userpilot. There are two options when it comes to triggering the Checklist from an element, it can either be achieved by specifying the CSS selector of the element or by selecting a Feature Tag that you previously created. So for anyone without a technical background, we got you! You can refer to this document to learn how a Feature Tag is created. Once it’s created, you can easily select it from the drop-down list.What is a CSS selector?
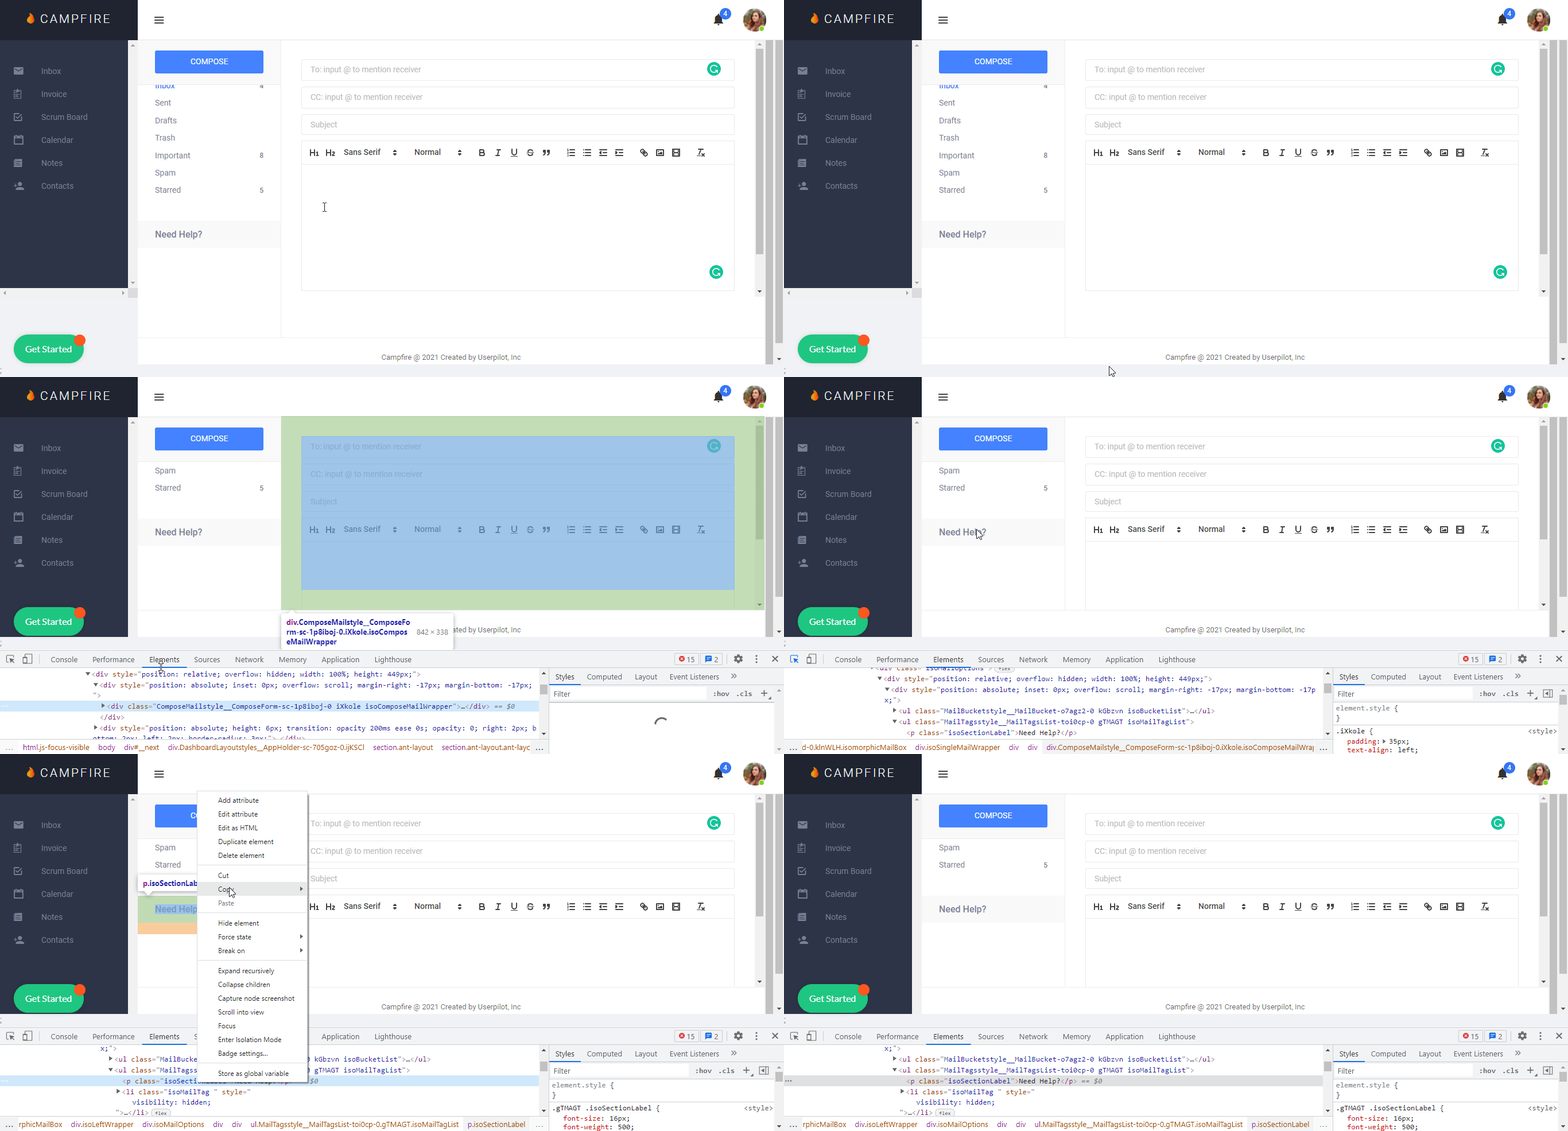
Elements are simply boxes on the page identified by its HTML and CSS, Userpilot identifies the element you have selected using CSS Selectors: these are used to select and target the HTML content on your web app. There are a wide variety of CSS selectors available, allowing for fine-grained precision when selecting elements to style; CSS selectors select HTML elements according to their id, class, type, attribute, etc. You can find the HTML content and related CSS selectors are used as a particular element by simply following these steps: 1- Right-click on the page and select “Inspect”, you should see the ‘Elements’ tab. 2- You can then click on the arrow icon that appears at the top left of the window and hover over the element that you would like to trigger the Checklist from and click on it. 3- Right-click on the highlighted line in the elements tab and select “Copy” => Copy selector.

3. Only Manually
There is more than one way to trigger the Checklist manually, it can be achieved using the permalink, programmatically, or via Userpilot content.Option 1: Via Other Userpilot Content
If you would like to trigger the Checklist from other Userpilot content such as a flow, you can achieve this by including the permalink or the javascript code which are explained below in Option#2 and Option #3.Option 2: Shareable Permalink
The Permalink option will allow you to trigger the Checklist by including it in any URL. This is a great way to easily share a flow with a teammate or force a Checklist to trigger using a link you share with users in your email onboarding sequence.

Option 3: Trigger Programmatically
A JavaScript code to trigger the Checklist is an additional option to trigger the Checklist manually.
Designing Your Beacon
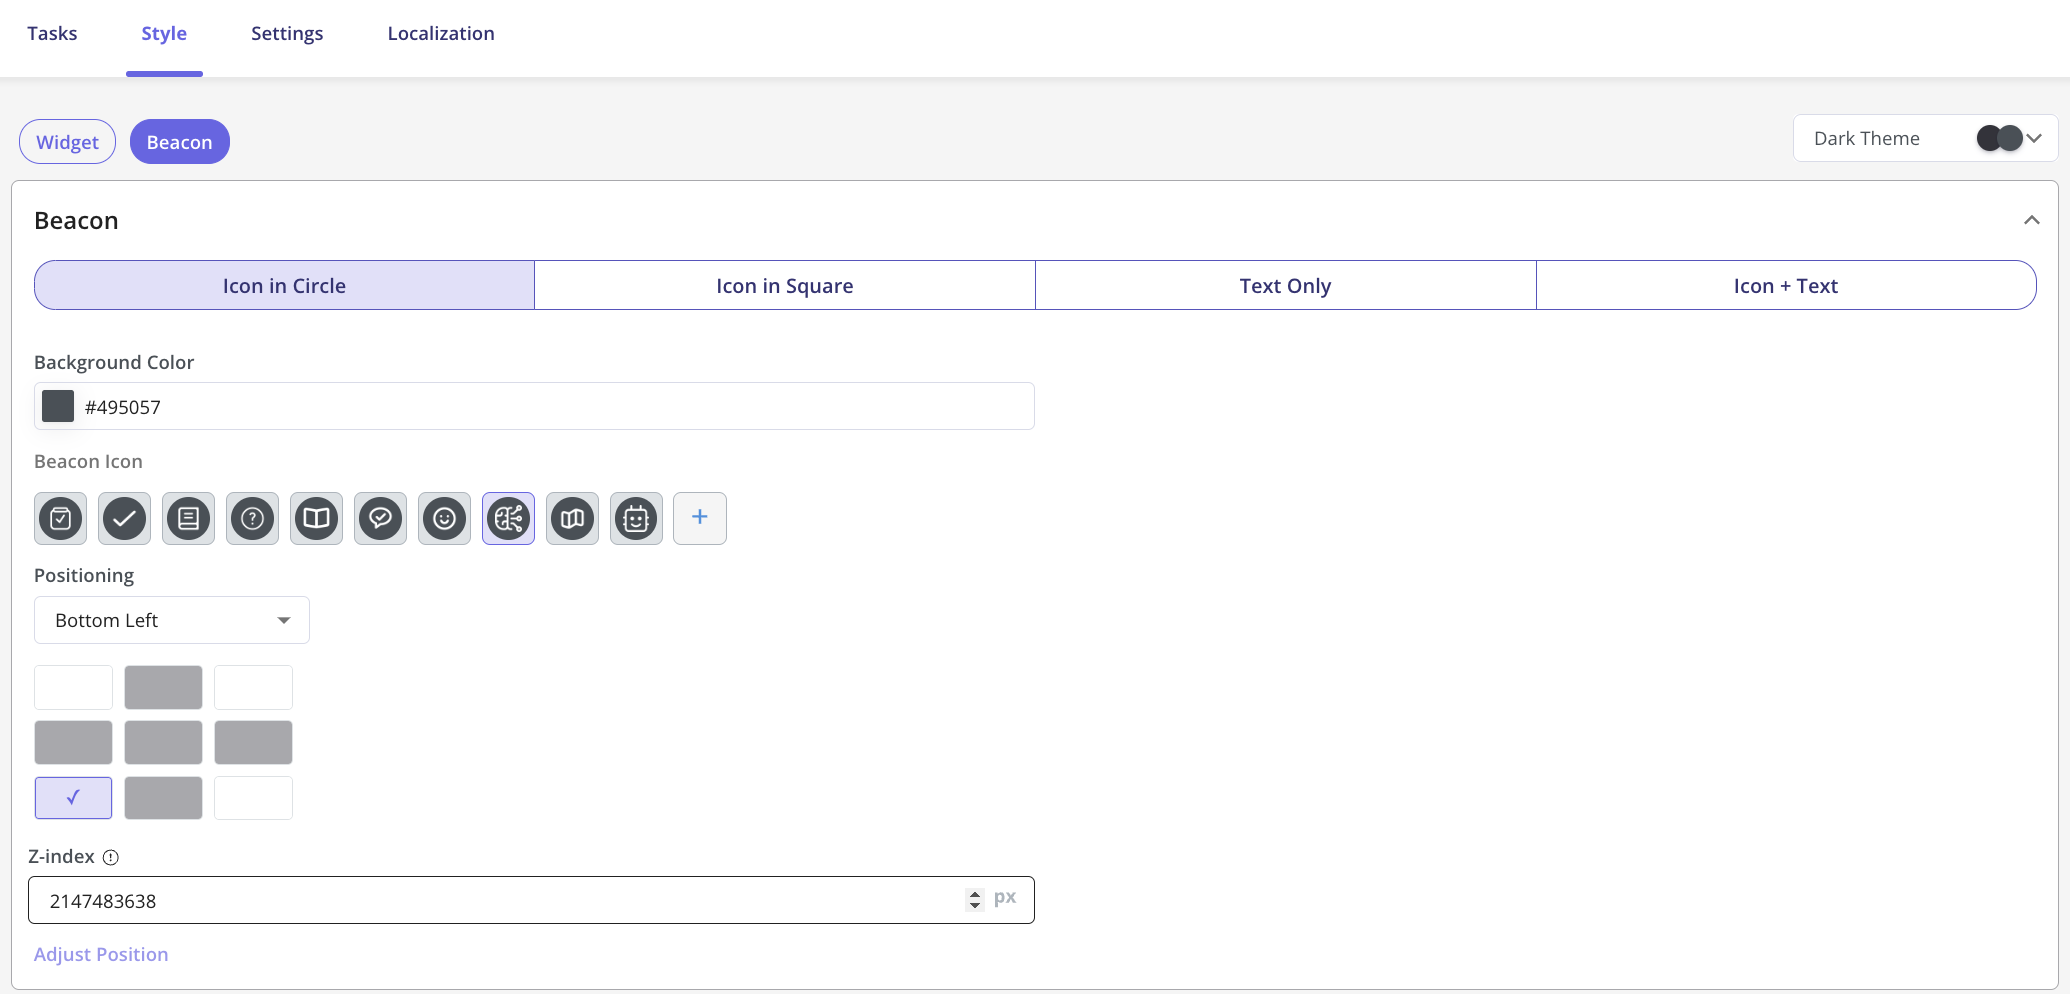
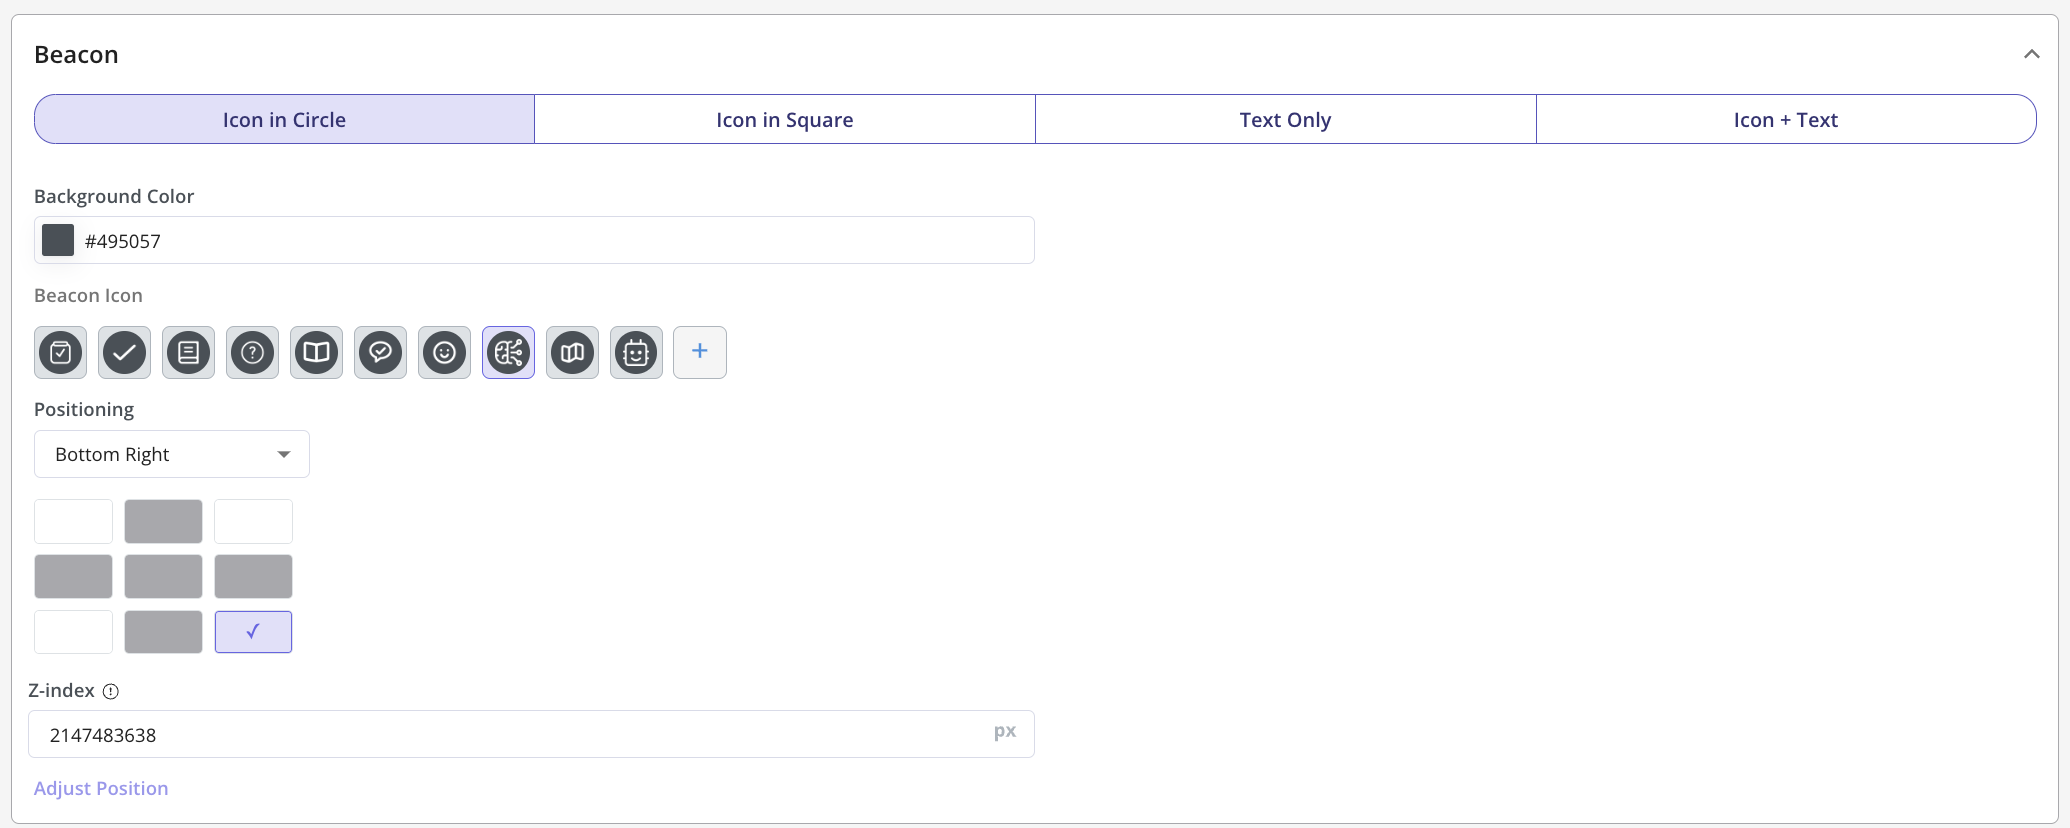
Next, it’s time to customize your Beacon! This includes color, Beacon Type, and Beacon Text.
