Overview
Net Promoter Score (NPS) is a widely used metric in the SaaS industry for measuring customer satisfaction and loyalty. It helps businesses understand how likely their customers are to recommend their product or service. The score is gathered through a simple survey question asking users to rate their likelihood of recommending the product on a scale from 0 to 10. Responses are then categorized to provide actionable insights.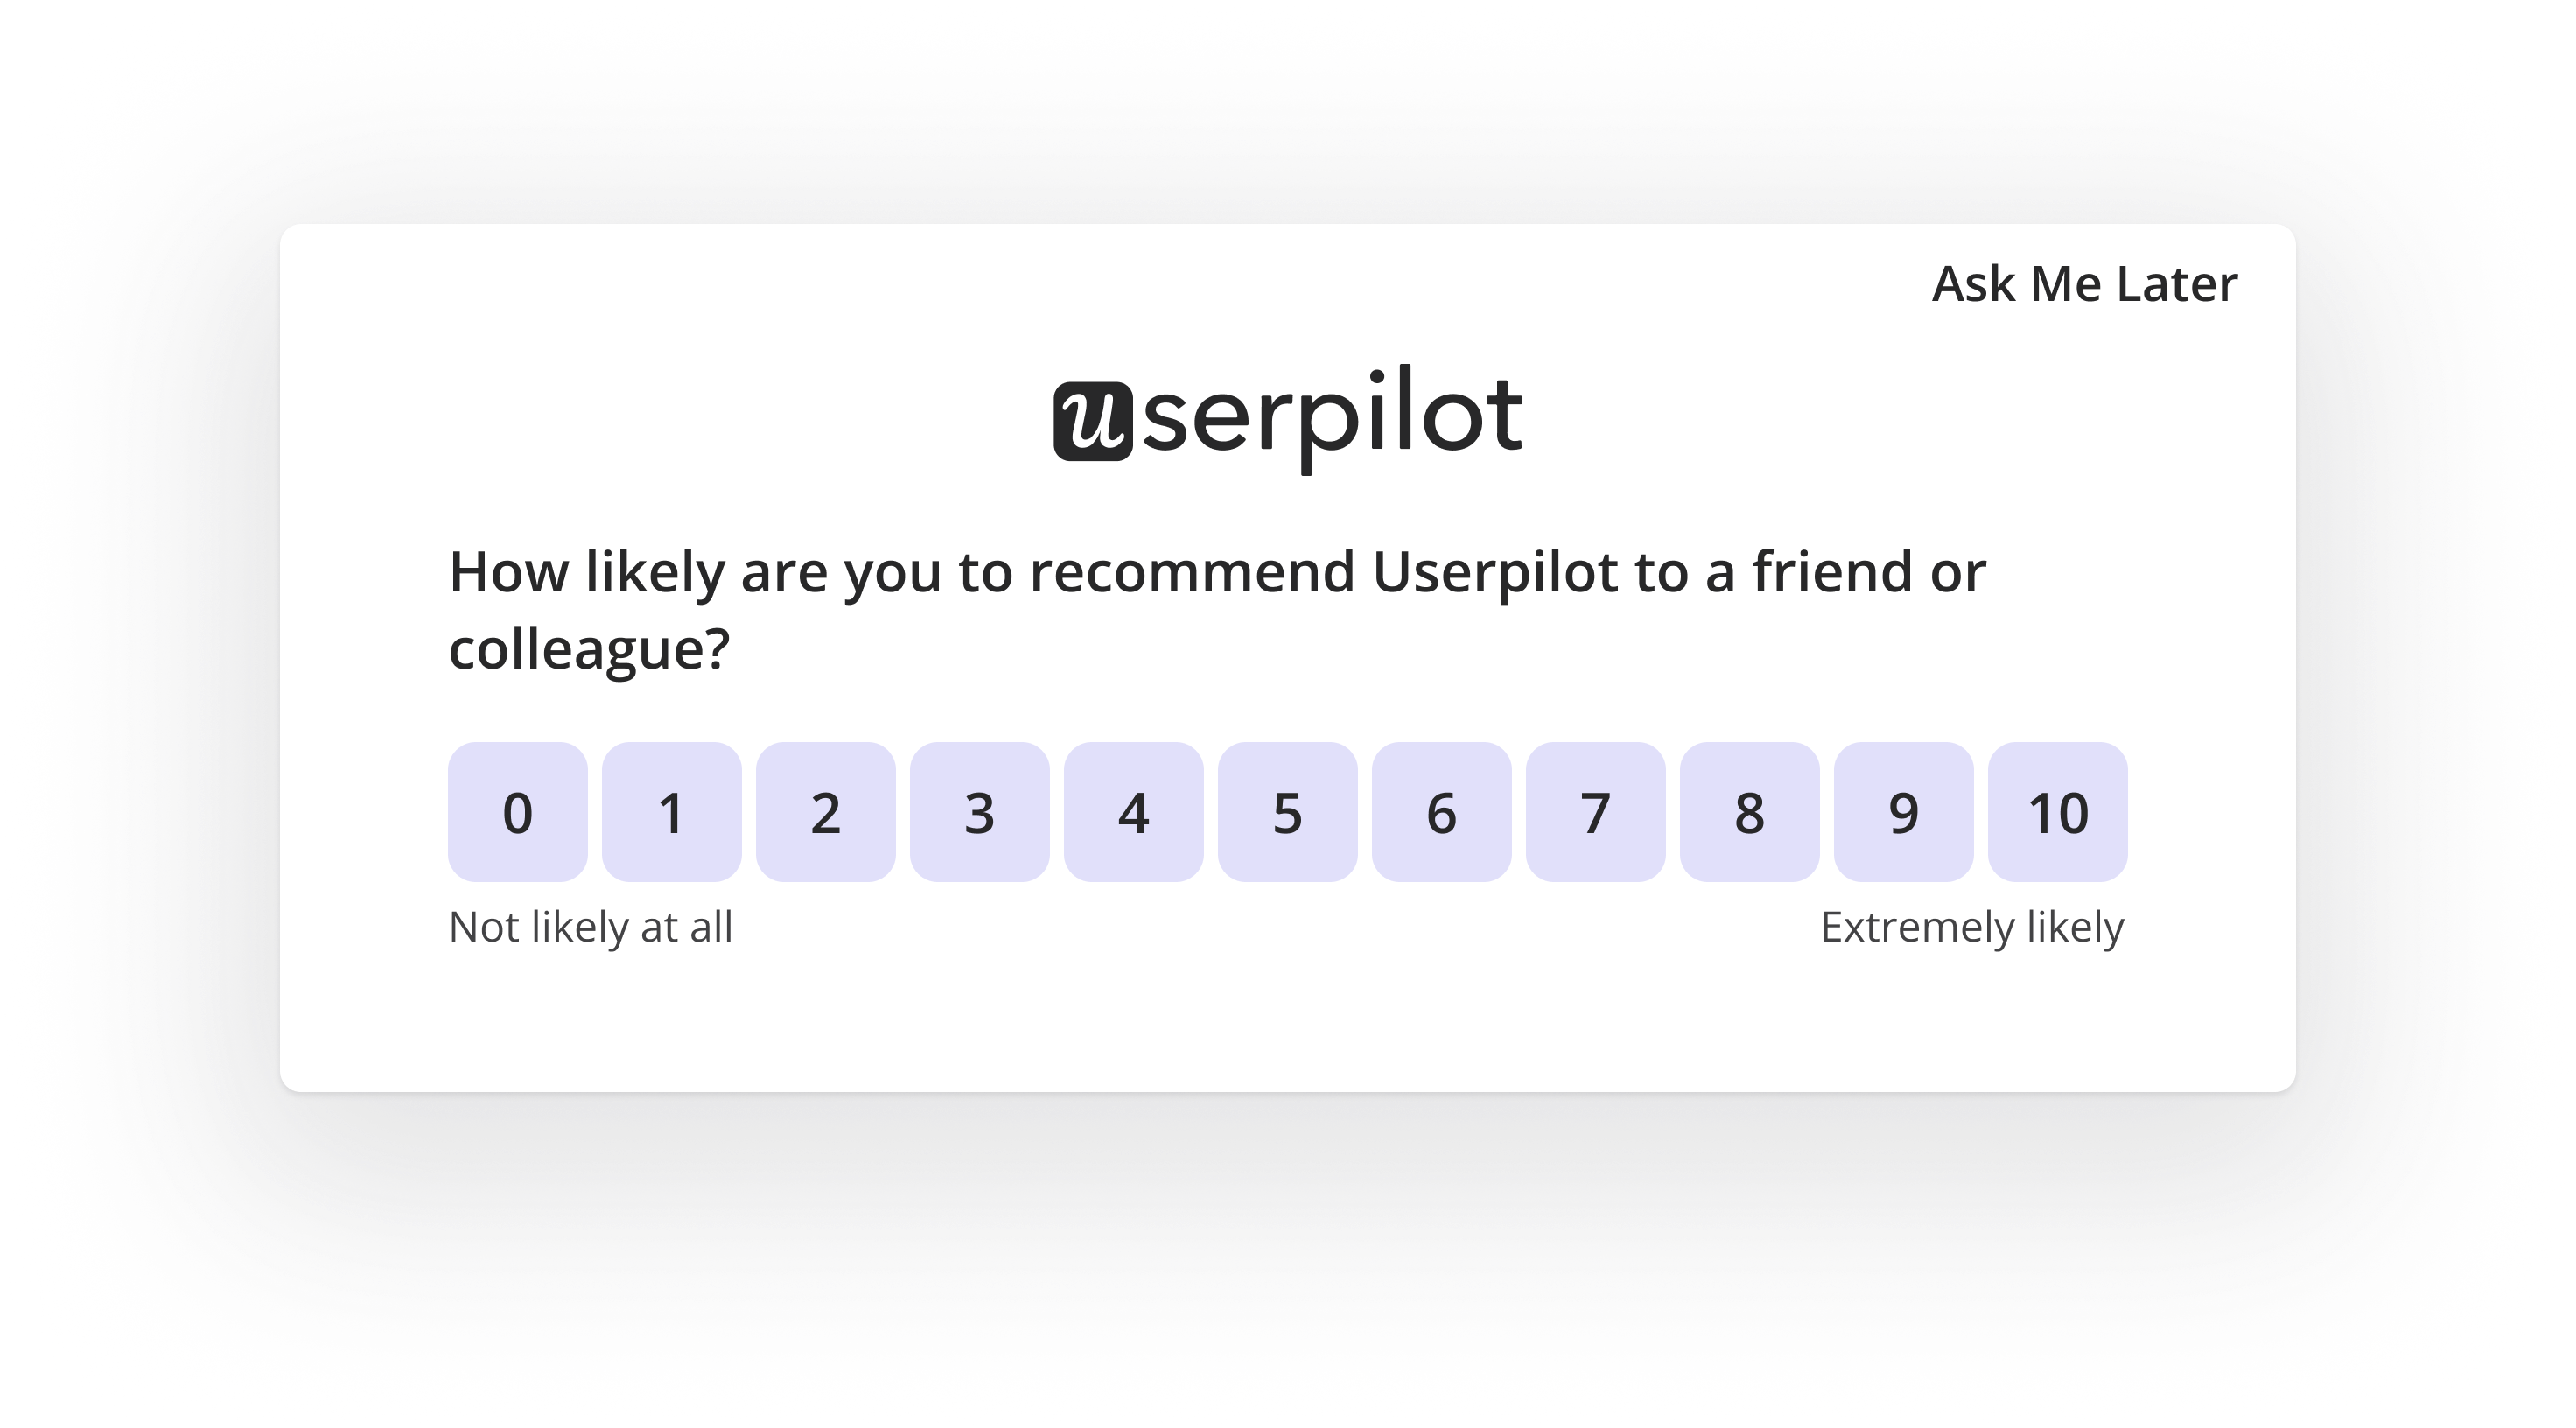
Use Cases
- Measure overall customer satisfaction and brand loyalty.
- Identify unhappy users and take proactive actions.
- Track customer sentiment over time and measure improvements.
- Optimize the user experience by targeting specific groups.
Creating and customizing the NPS
First, go to Feedback > NPS from the navbar, and click Create NPS.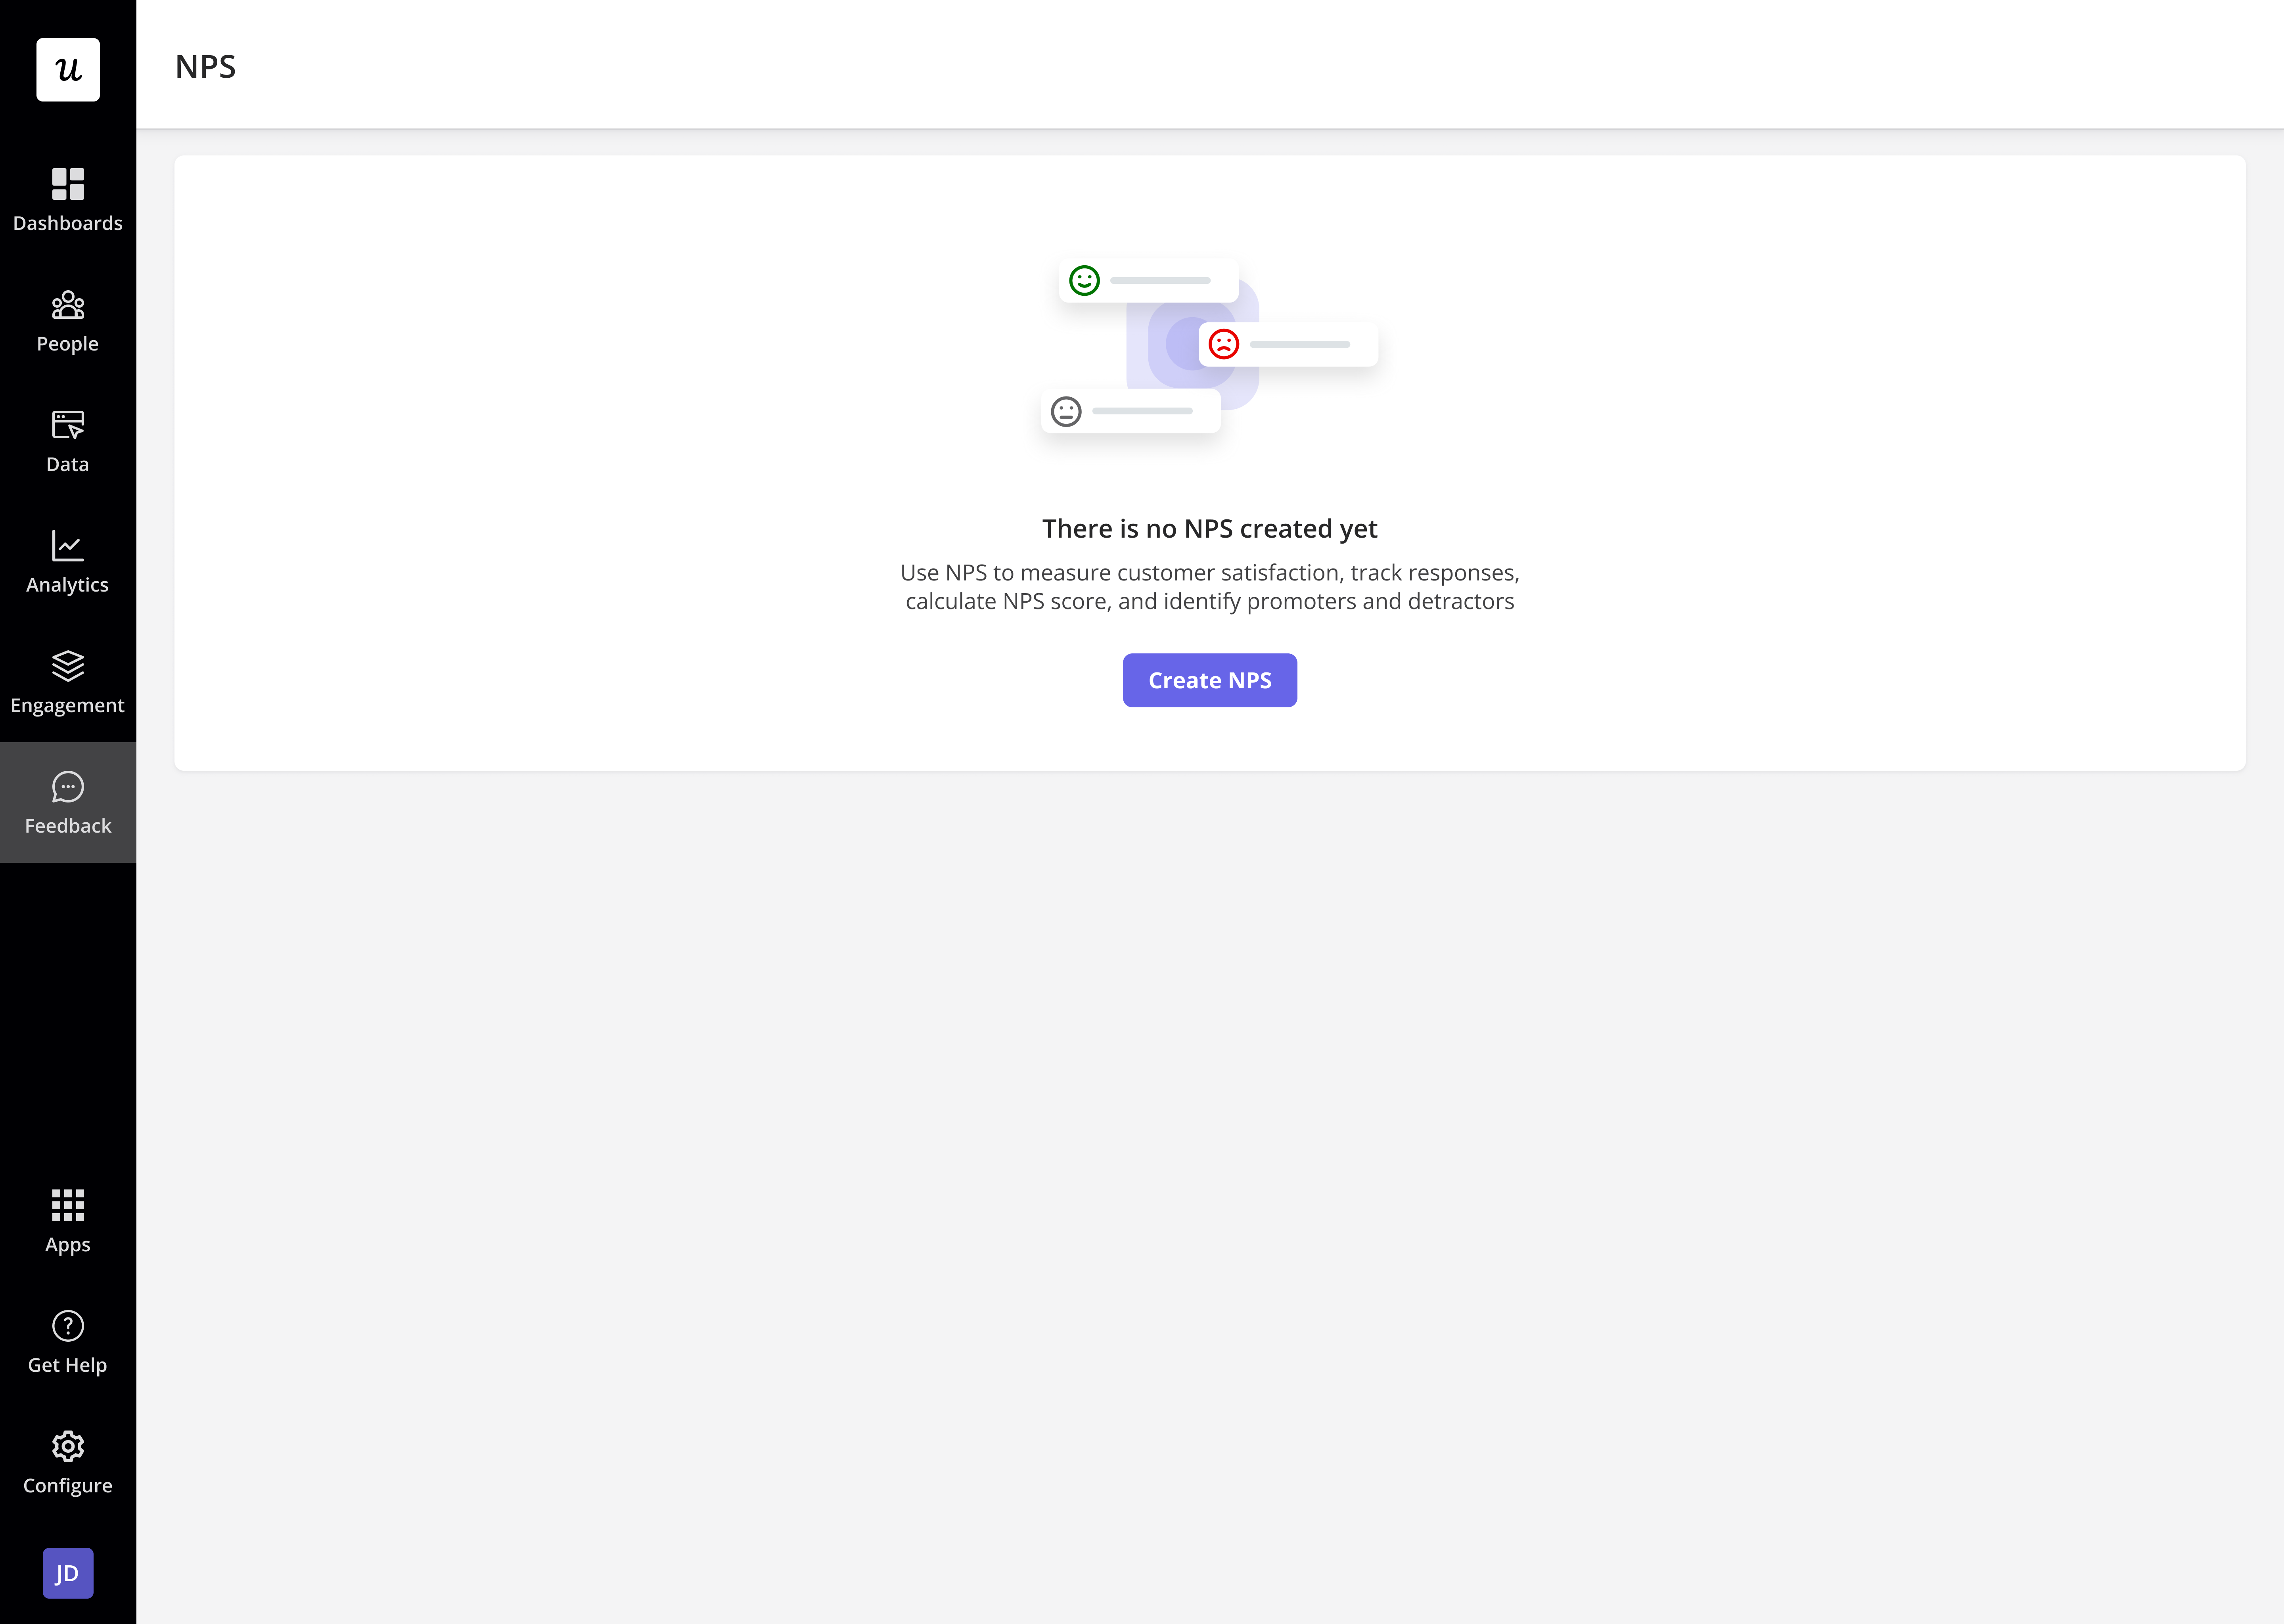
Setting up the NPS question
The default NPS question follows the industry-standard format: “How likely is it that you would recommend [Company/Product] to a friend or colleague?” You can personalize this question by inserting dynamic variables such as the user’s name or company.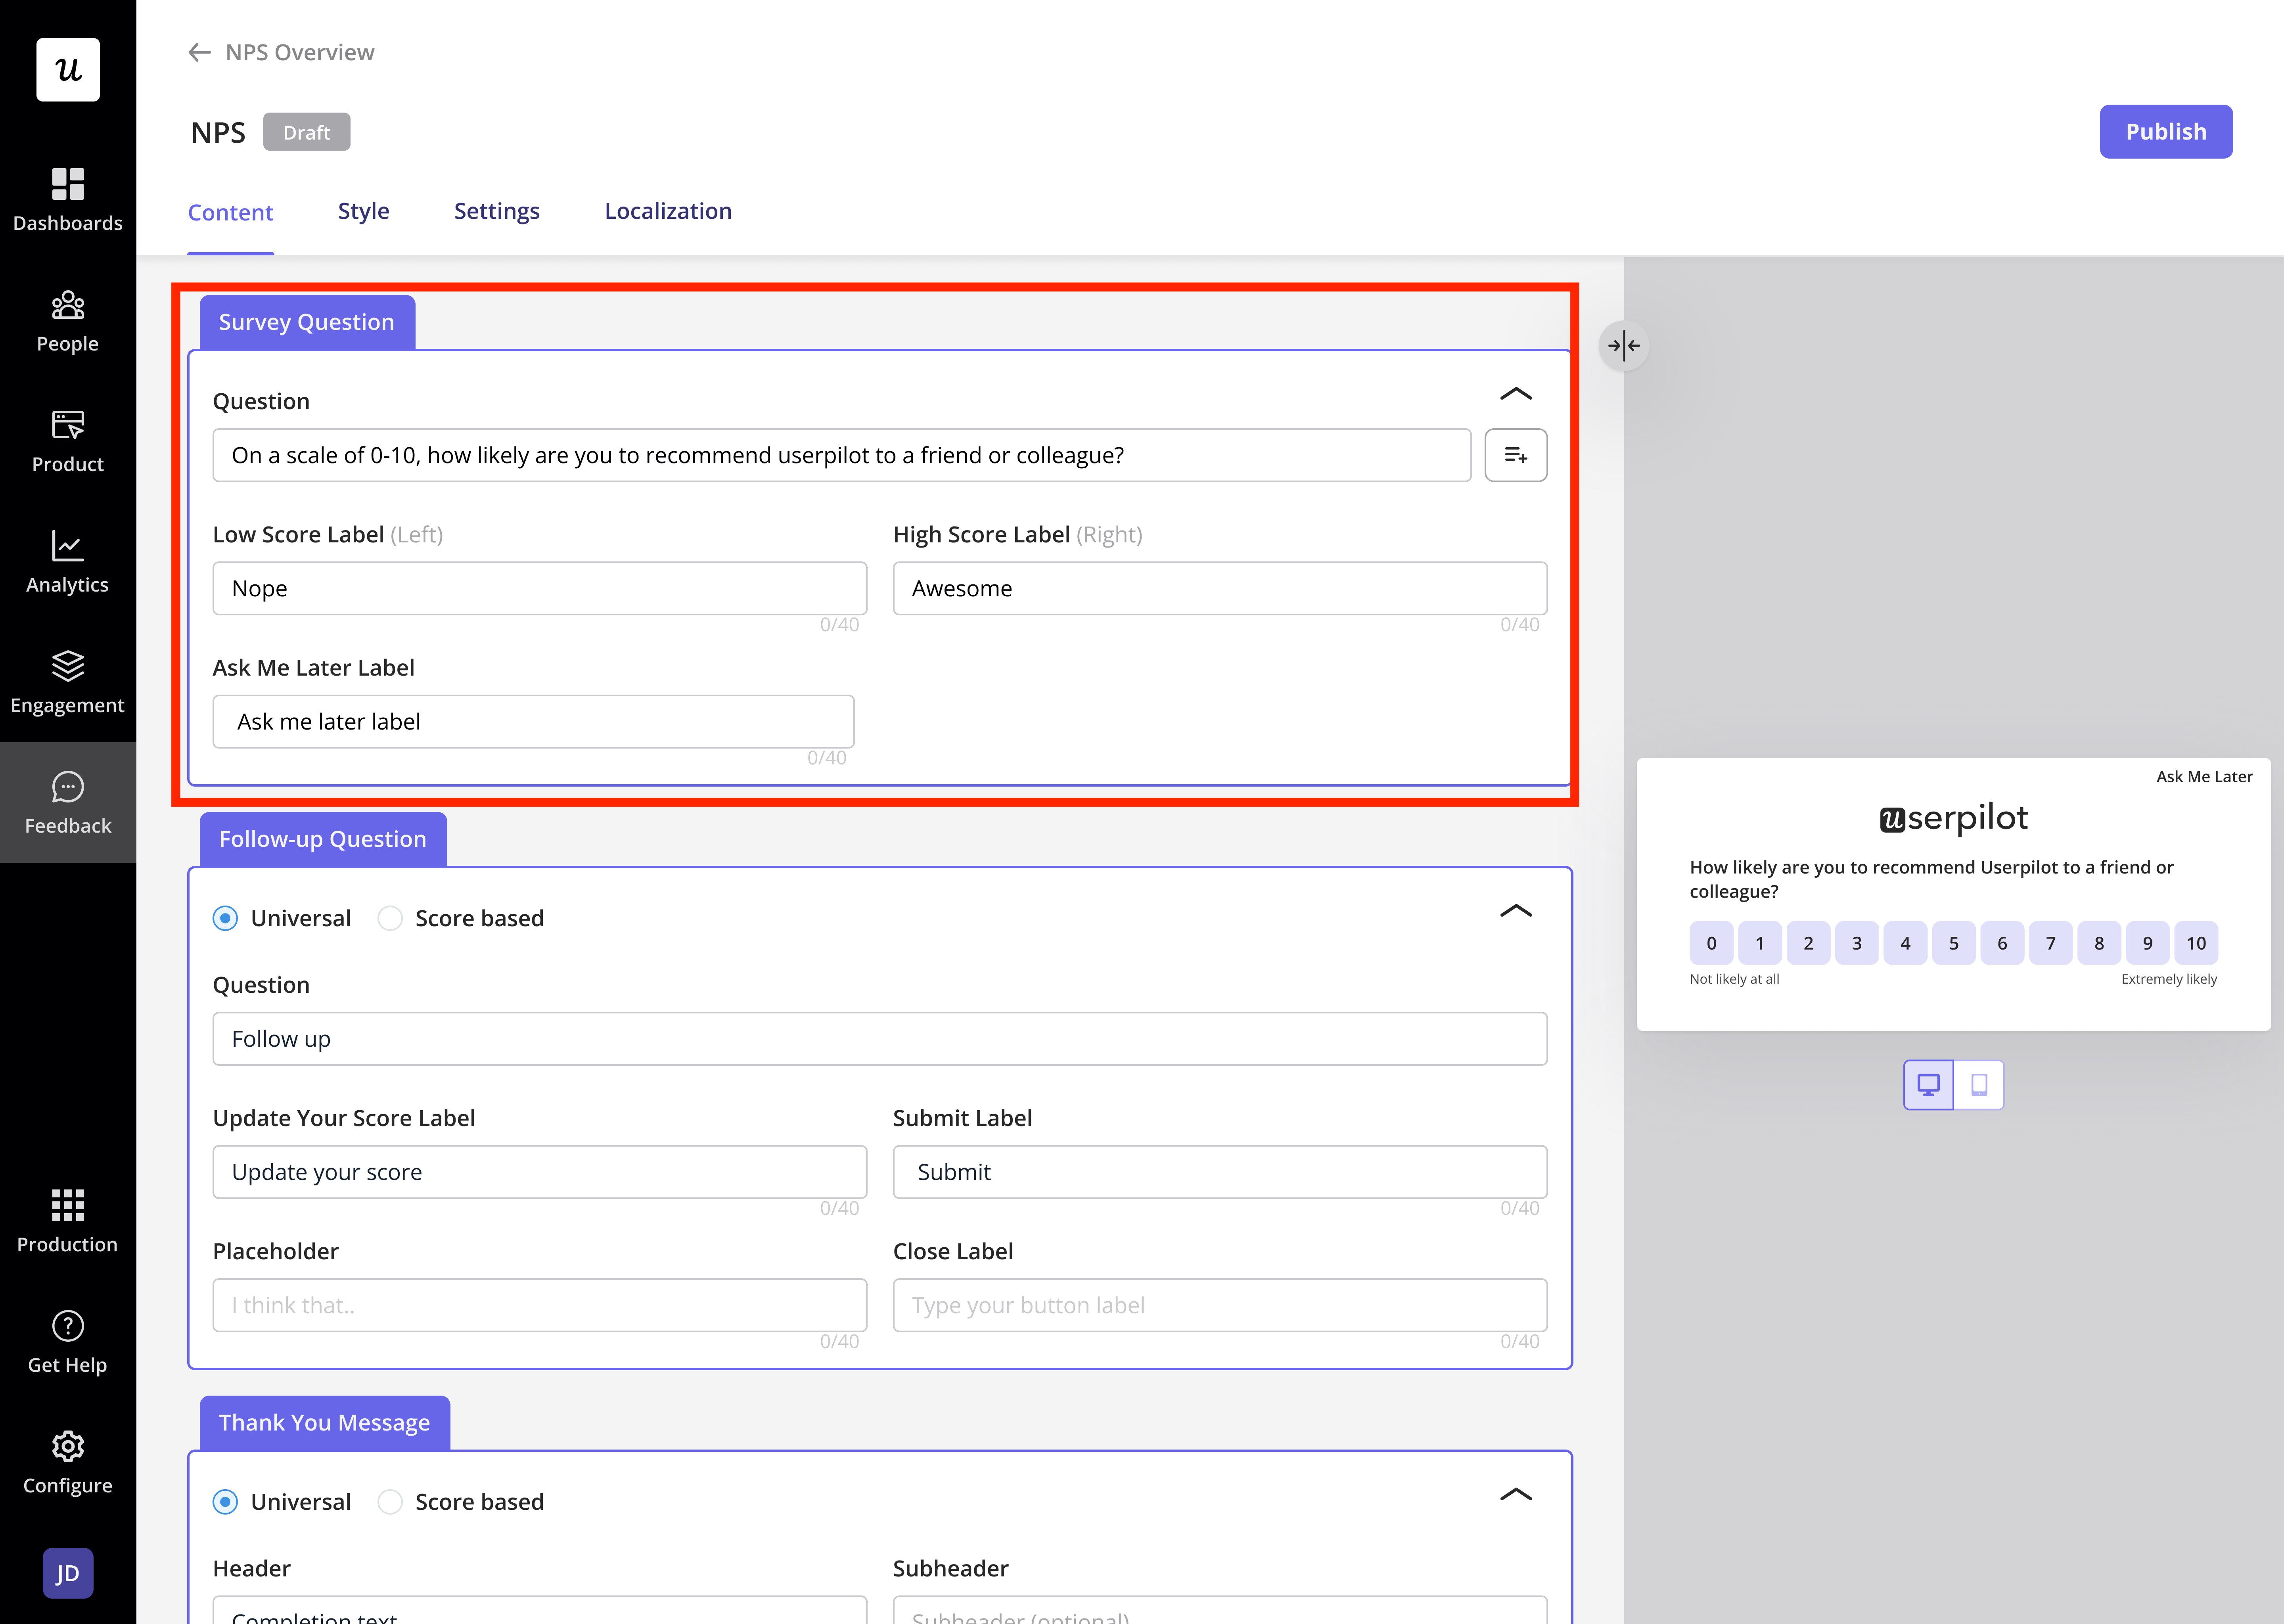
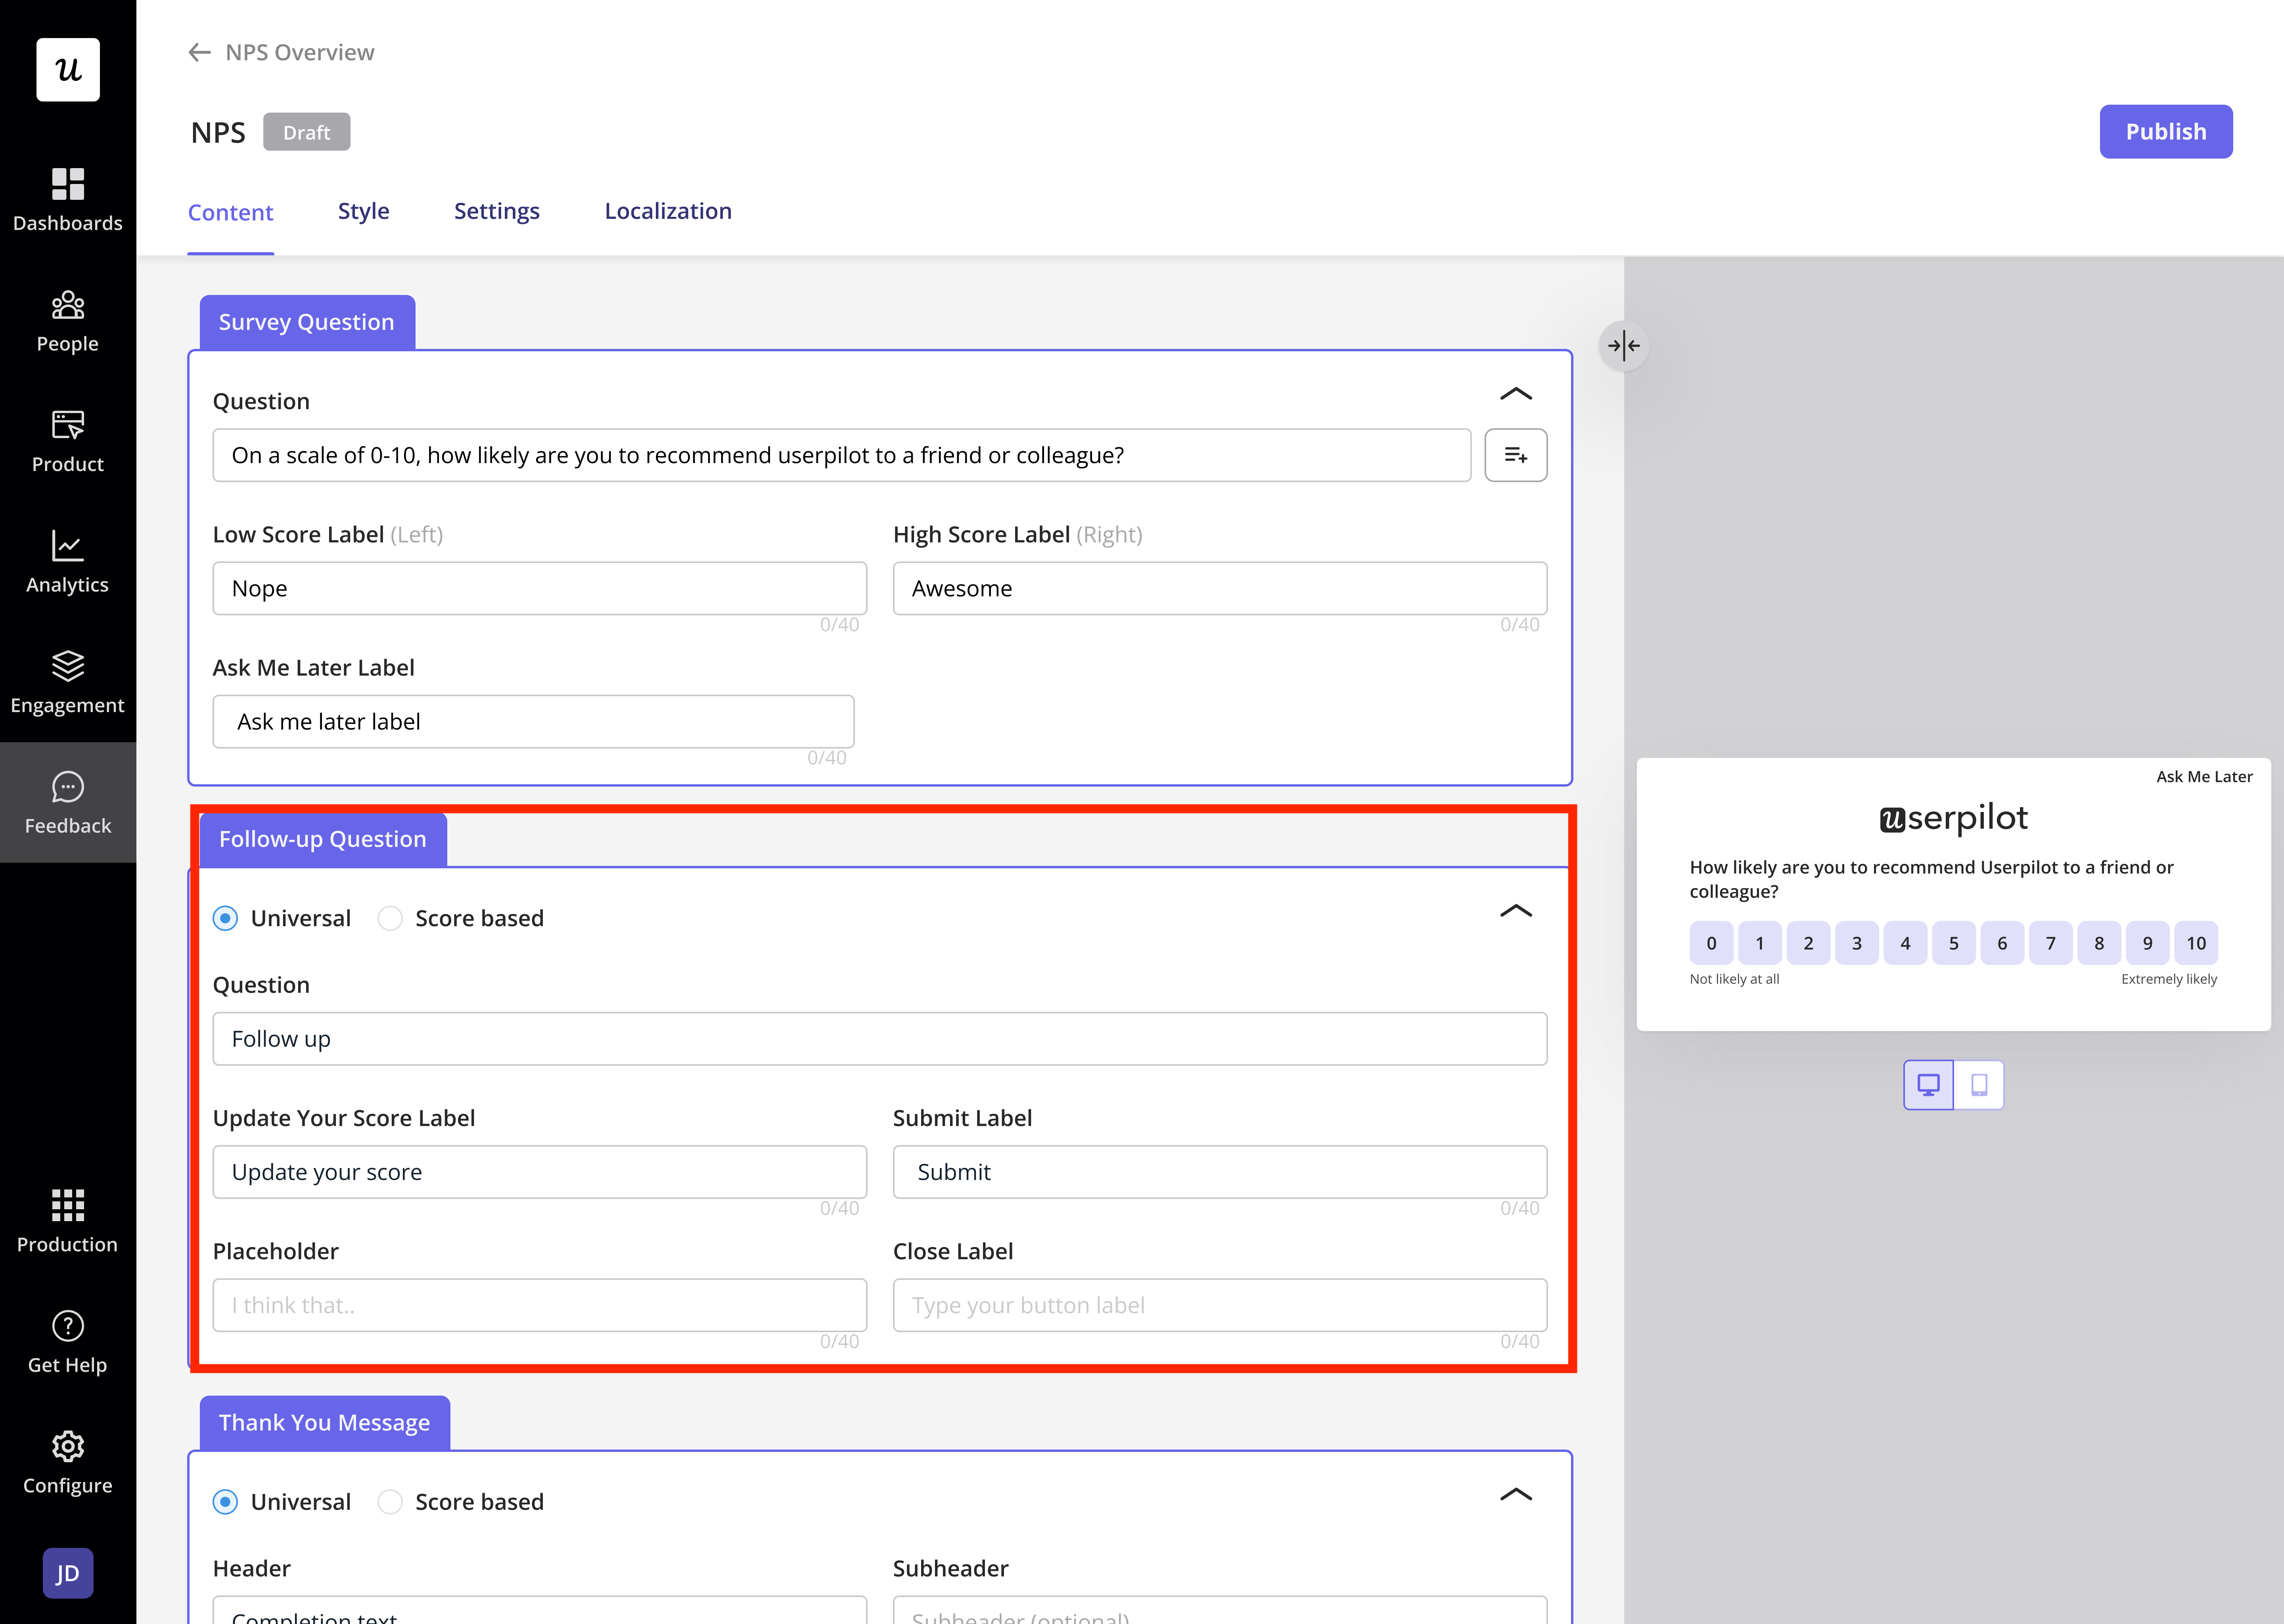
Adding a follow-up question
Encouraging users to provide additional context helps in analyzing feedback. There are two types of follow-up questions:- Universal: A single follow-up question regardless of the score.
- Score-Based: Different follow-up questions based on the score given.
Thank You Message
You can add a custom thank you message after submission, which can also be score-based to personalize the experience further.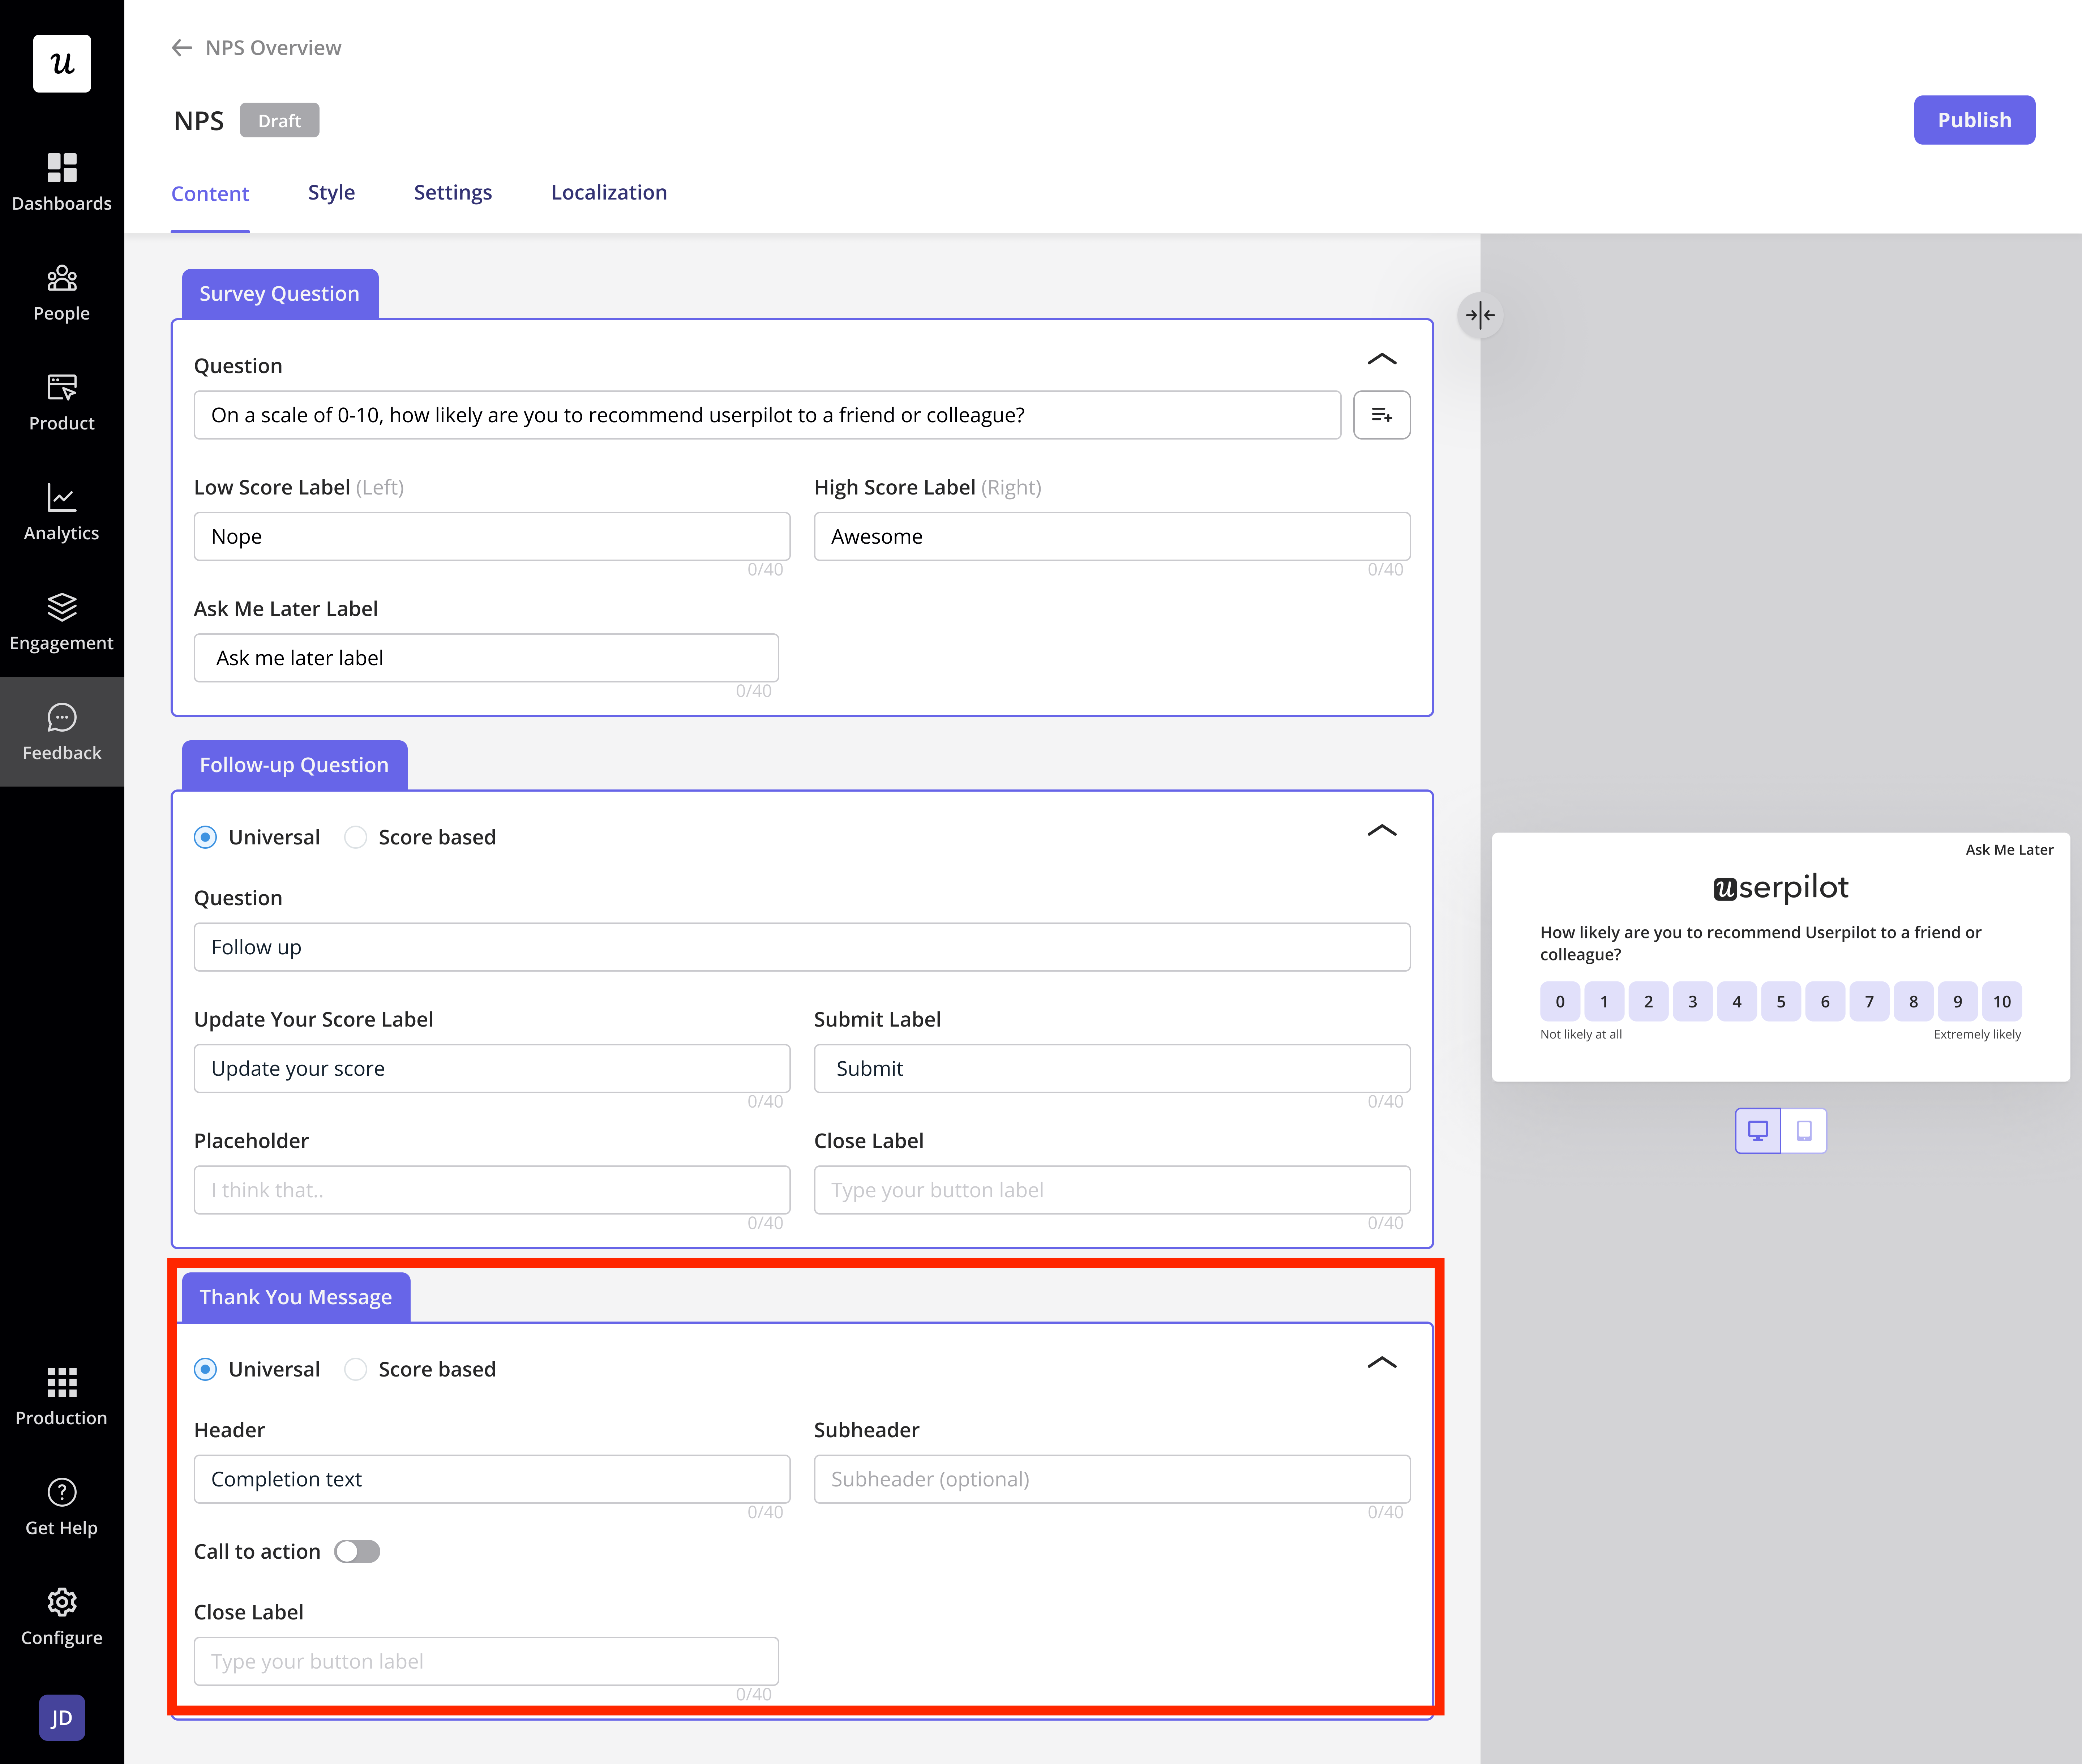
Styling the NPS
Once the NPS survey is created, you can style and configure its appearance to match your branding.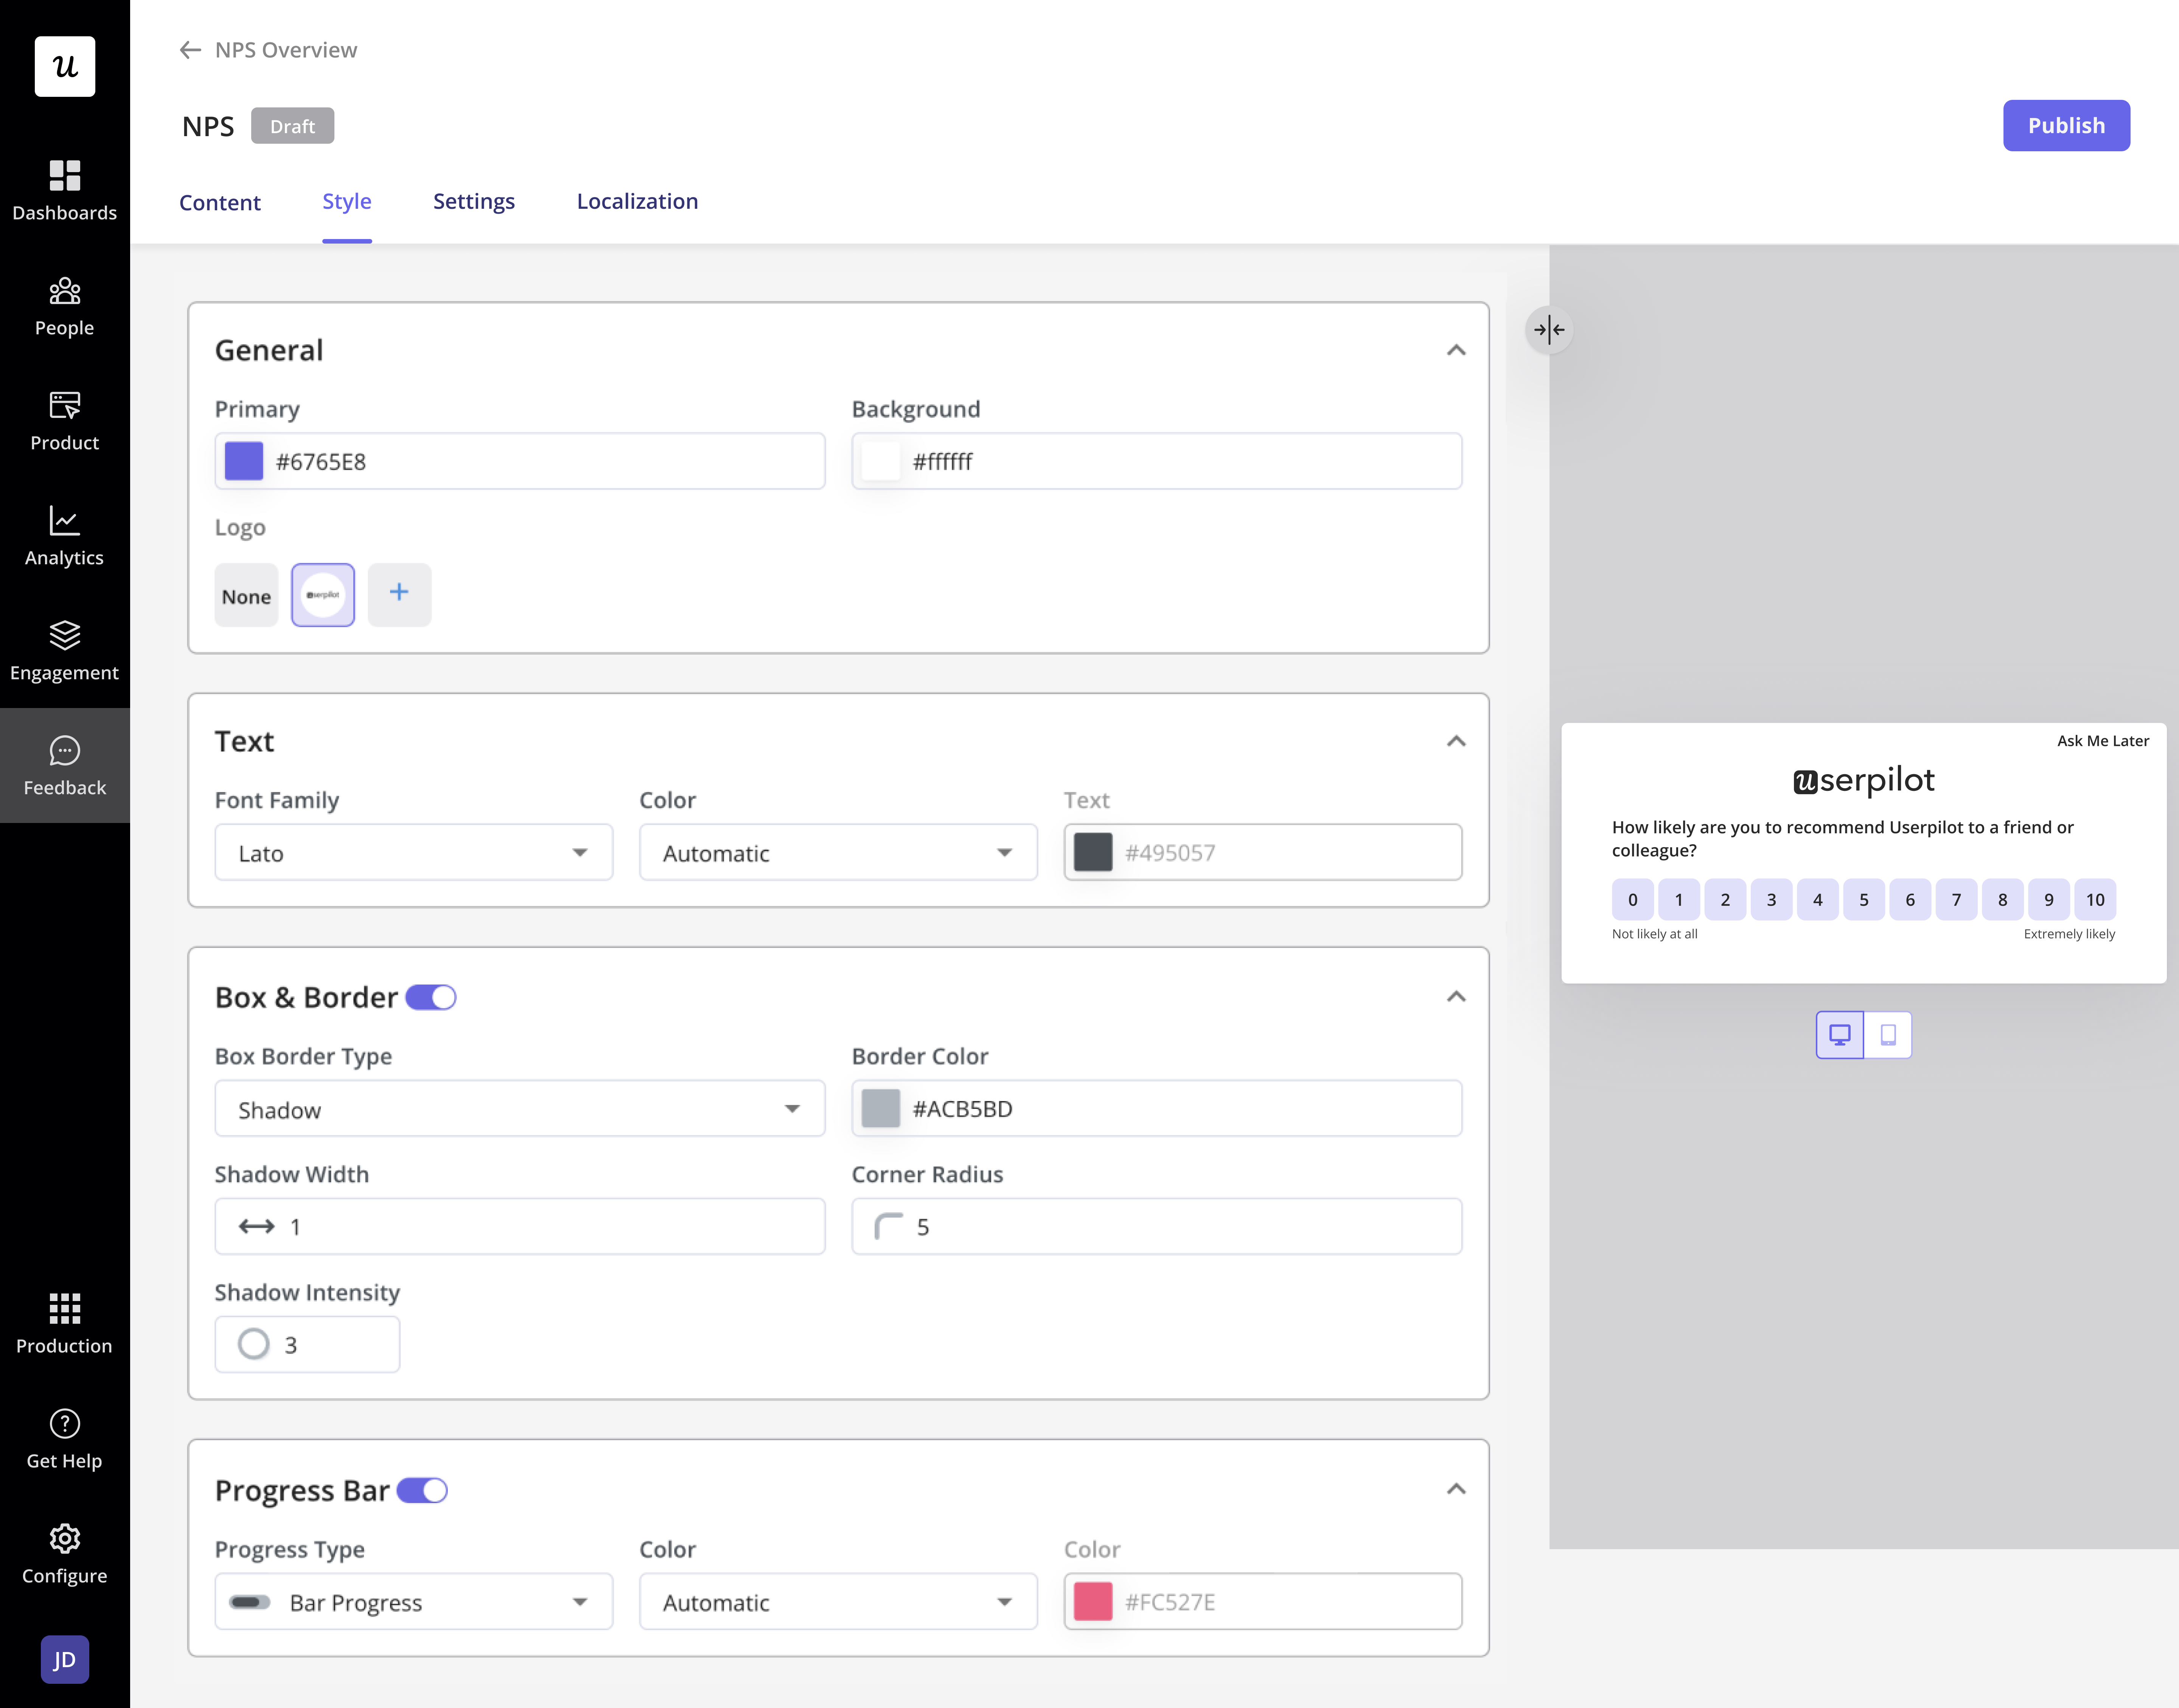
General Settings
- Primary & Background Colors: Customize colors to align with your brand.
- Logo: Add your company logo for brand consistency.
Text Customization
- Font Family & Text Color: Adjust typography for readability and style.
Box & Border Options
- Choose between Shadow or Solid border types and adjust width, intensity, and corner radius.
Progress Bar
- Types: Choose between a Bar or Ball indicator.
- Color: Set a custom color to match the theme.
Mobile Preview
You can preview how the survey looks on mobile and web platforms to ensure optimal responsiveness and user experience.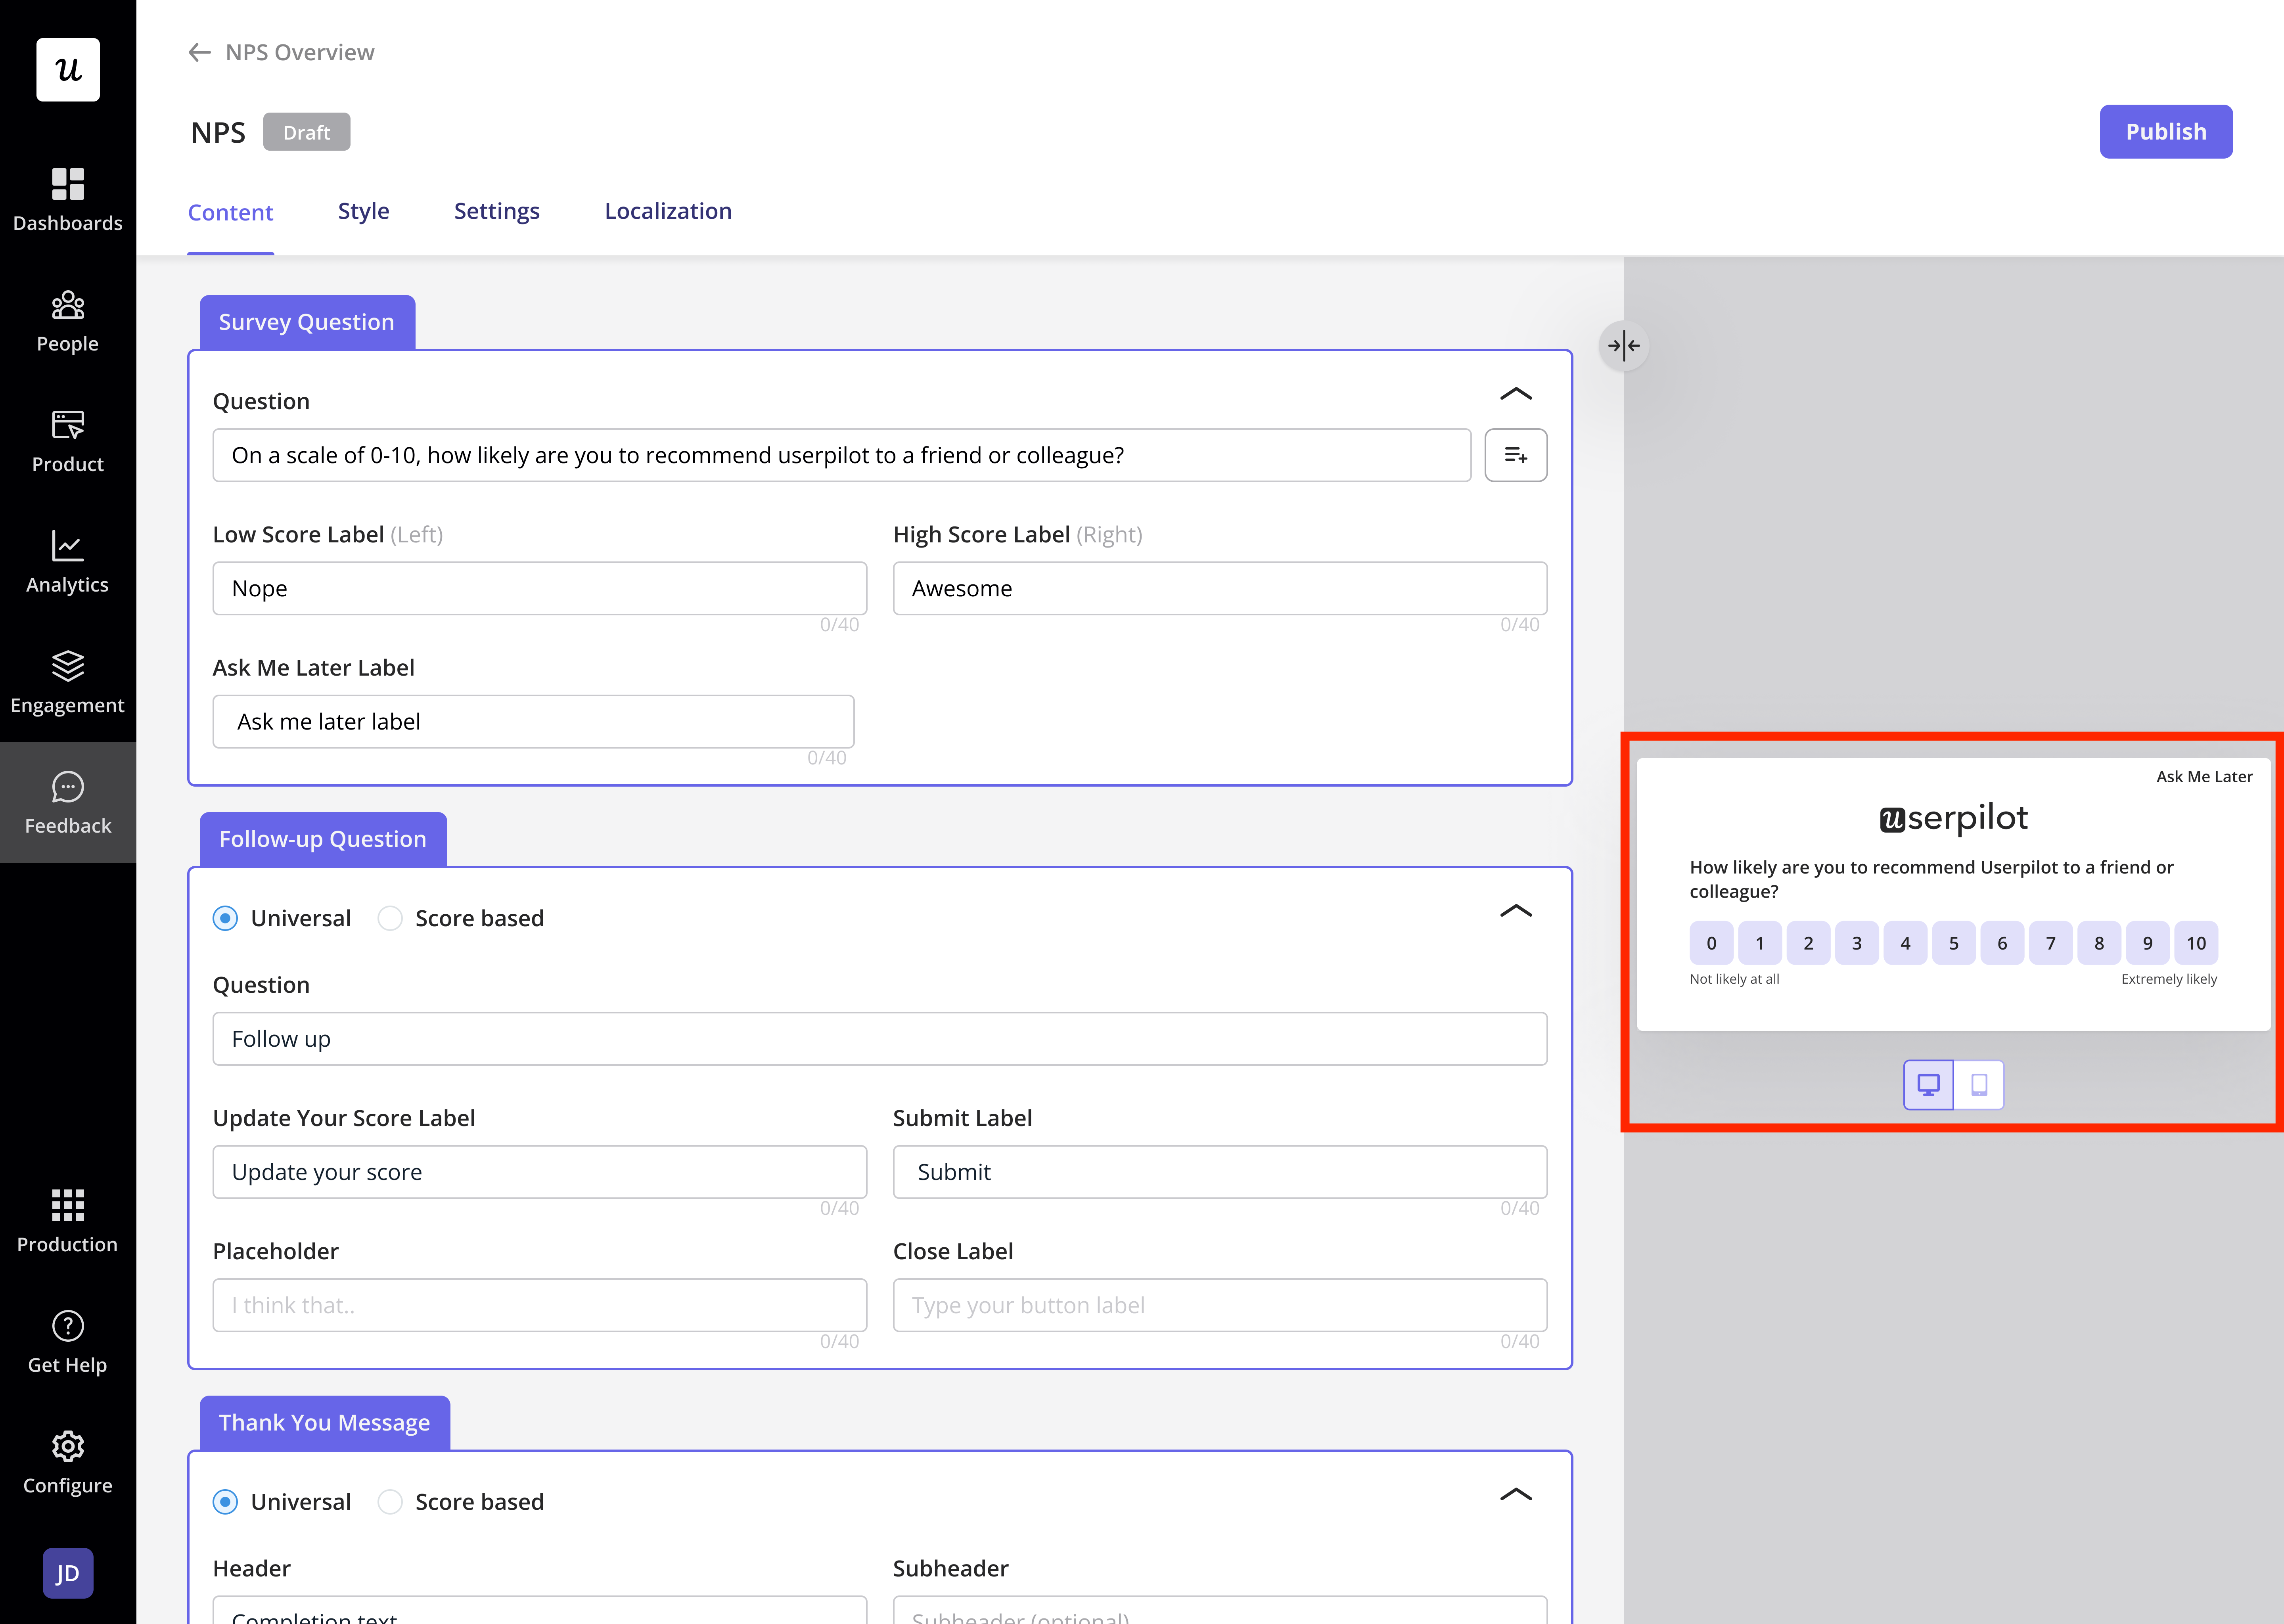
FAQs
Can I create multiple NPS surveys in my account?
Can I create multiple NPS surveys in my account?
No, each Userpilot account is limited to one active NPS survey at a time. This ensures consistent feedback collection and prevents survey fatigue among users.
What happens if a user updates their NPS score?
What happens if a user updates their NPS score?
If a user changes their score before submitting, only the final selection is recorded.
Can I send NPS responses to my CRM or help desk?
Can I send NPS responses to my CRM or help desk?
Yes! You can integrate with tools like HubSpot, Salesforce, or Webhooks to sync responses.