Overview
Creating a flow involves three key steps: designing the content, testing its functionality, and launching it live in your product. Before making a flow available to end users, it’s essential to review and ensure it looks and behaves as expected. Userpilot offers two testing approaches to assist with this:- Preview Mode: Test the flow within the Userpilot builder to review its content, appearance, and behavior during the creation process.
- Test Mode: Experience the flow as an end-user while it’s live in your product to verify real-world interactions.
Preview Mode
Preview Mode is a built-in tool within the Userpilot builder that allows you to test how a flow will look and behave for your end users. To enter Preview Mode, simply click the “Preview” button located in the bottom bar.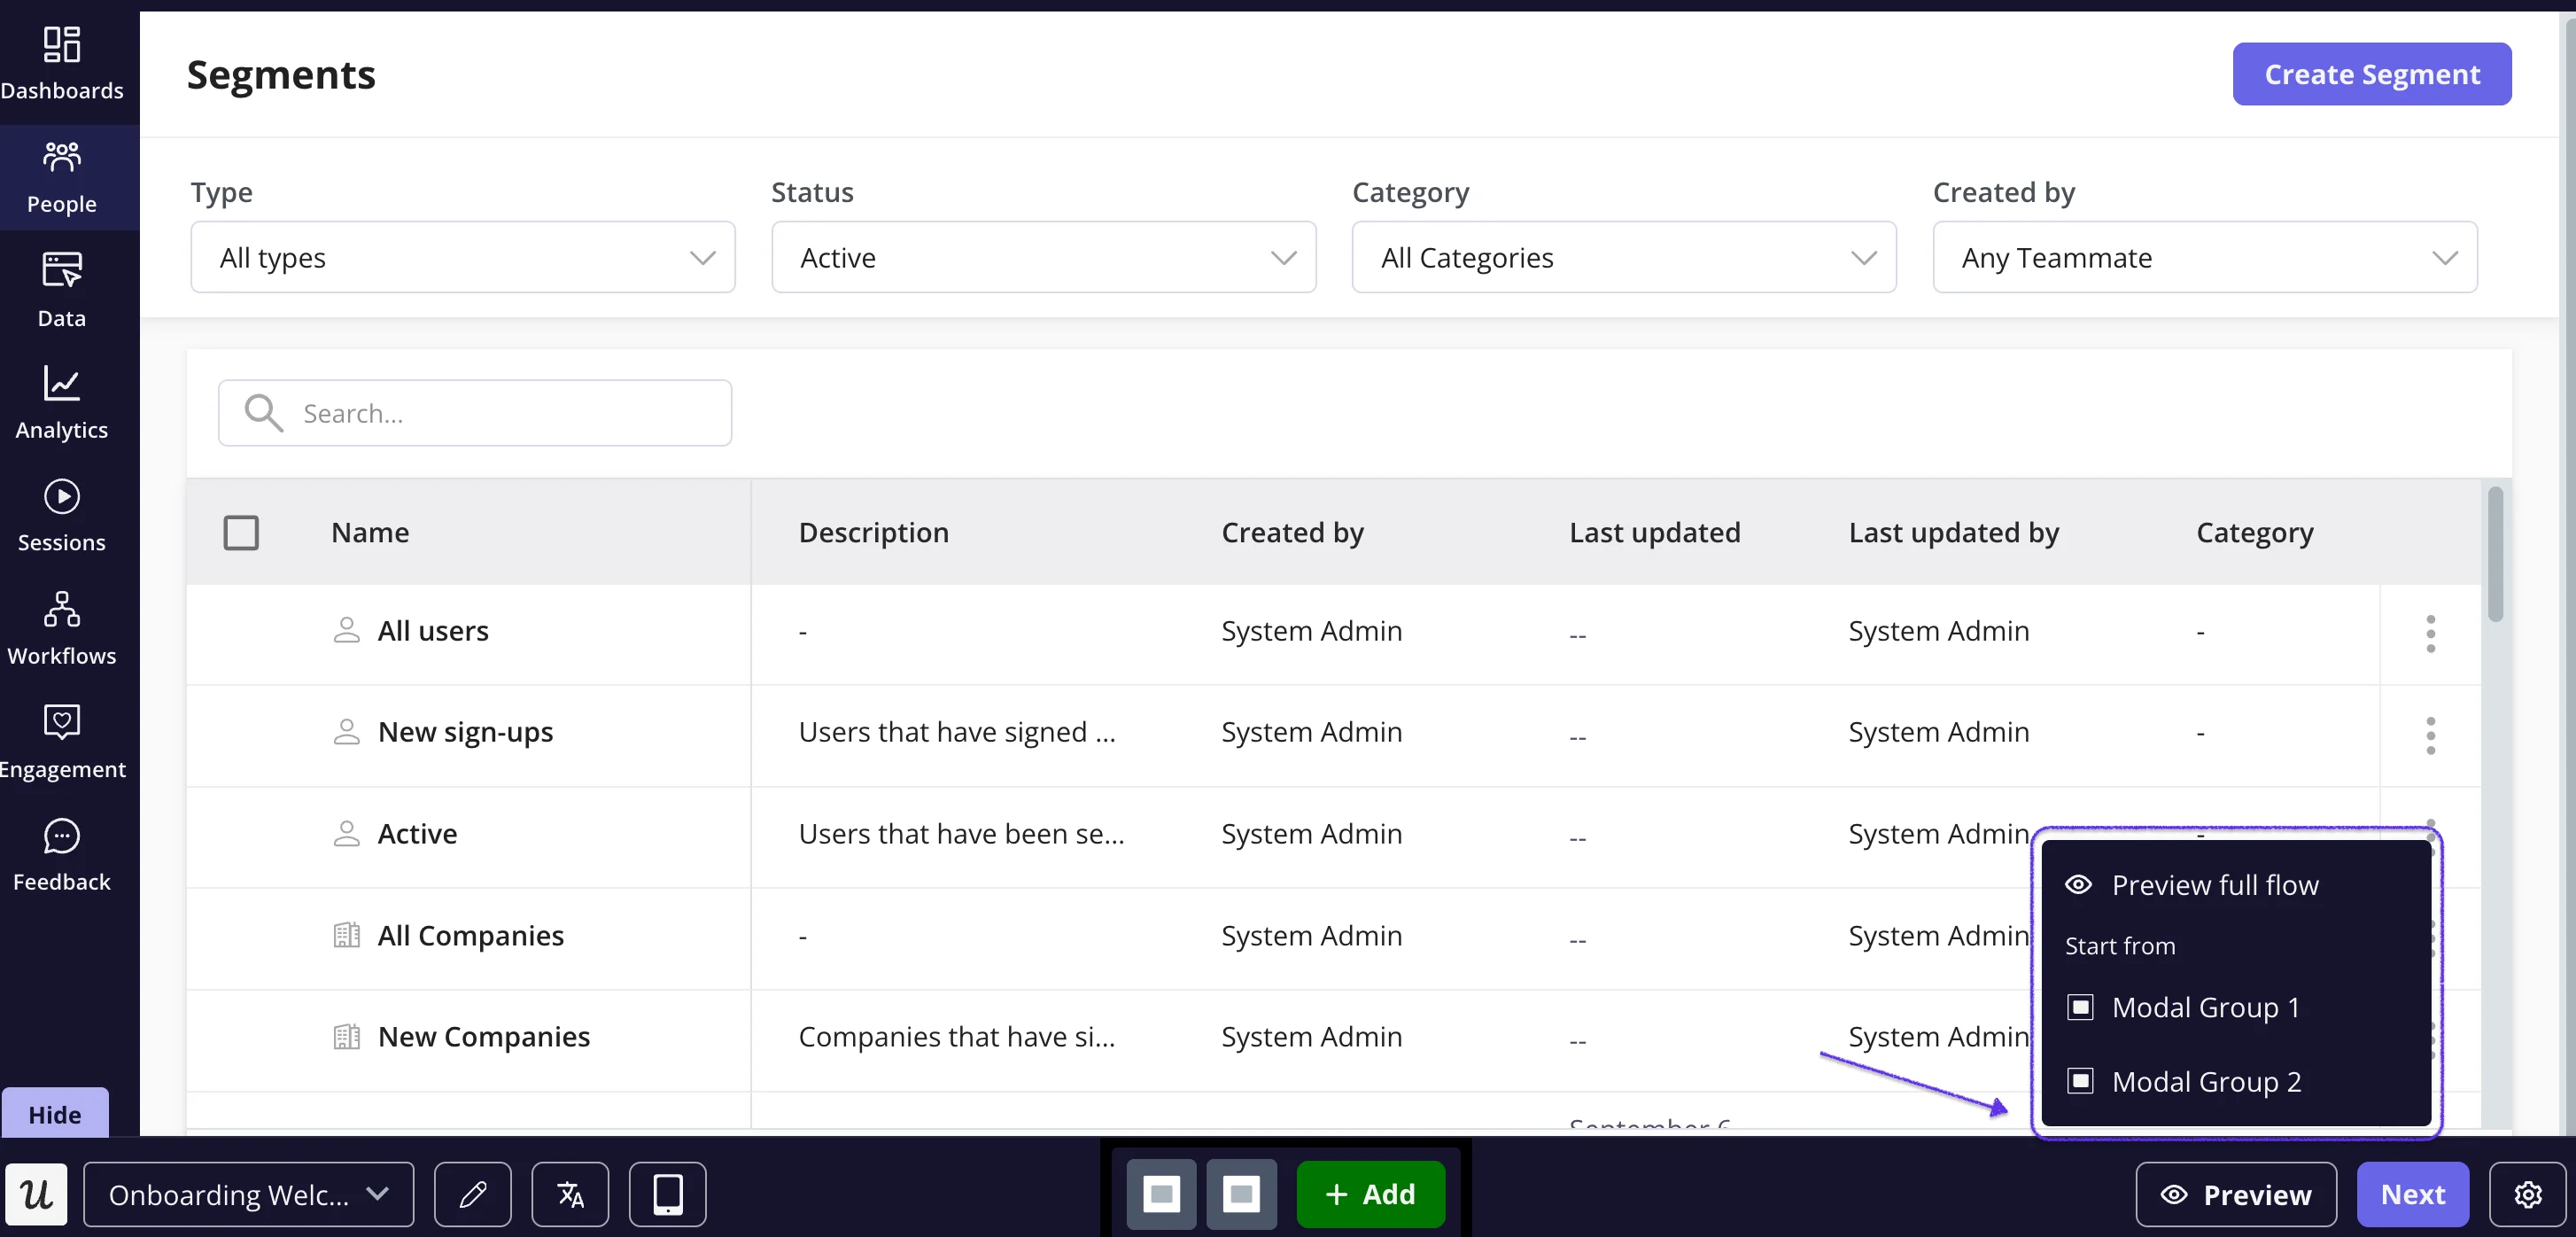
Previewing a flow can be great for many things
- You can quickly walk through the flow just as an end-user would.
- Verify that each step appears on the correct page(s).
- Interact with form fields, buttons, redirects, and other elements.
- Test step interactions, such as hover and click behaviors.
- Gather feedback from teammates who have access to Userpilot and the builder installed.
Important notes on preview mode
- No script installation required: Preview mode works with the Userpilot builder alone and there’s no need to install the Userpilot script on your product.
- Targeting and triggering rules are not applied: You cannot test conditions like event-based triggers or audience segmentation in preview mode.
Content displaying
Userpilot also provides a real-time display of your flow’s most recent version directly within the Userpilot web app and in multiple languages, by simply entering the flow.
Test Mode
After building and previewing your flow, the next step is to test whether it triggers correctly under the right conditions for the intended user segment. Testing in a live environment allows you to verify real-world behavior before rolling it out to end-users. Testing the flow live as an end-user can be great for many things- Experience the flow as an end-user outside of the Userpilot builder.
- Confirm that the flow follows targeting rules (e.g., only showing for new sign-ups).
- Validate that the flow triggers correctly (e.g., appearing only once as intended).
- Test how multiple live flows interact within your product.
- Reset the test user’s progress to review the flow multiple times.
- Share the flow permalink with colleagues to gather feedback and iterate.
- Publish the flow before testing.
- Ensure the Userpilot code snippet is installed in your application.
- Confirm that the test user is identified.
Publishing options
Before making your flow live for end-users, you can choose from several controlled publishing options to test it effectively. 1. Publishing to staging environment If you’d like to test your flow in a safe environment, you can restrict it to your testing or staging domains.- Go to Domain Settings and select Only On Specific Domains.
- Click Add Domain, search for your staging domain, and click Apply
- You can use Matches, Doesn’t Match, or Wildcard conditions to refine targeting.

- In the Audience section, target testers based on User ID, email, or name.
- The flow will only be visible to the selected internal accounts.

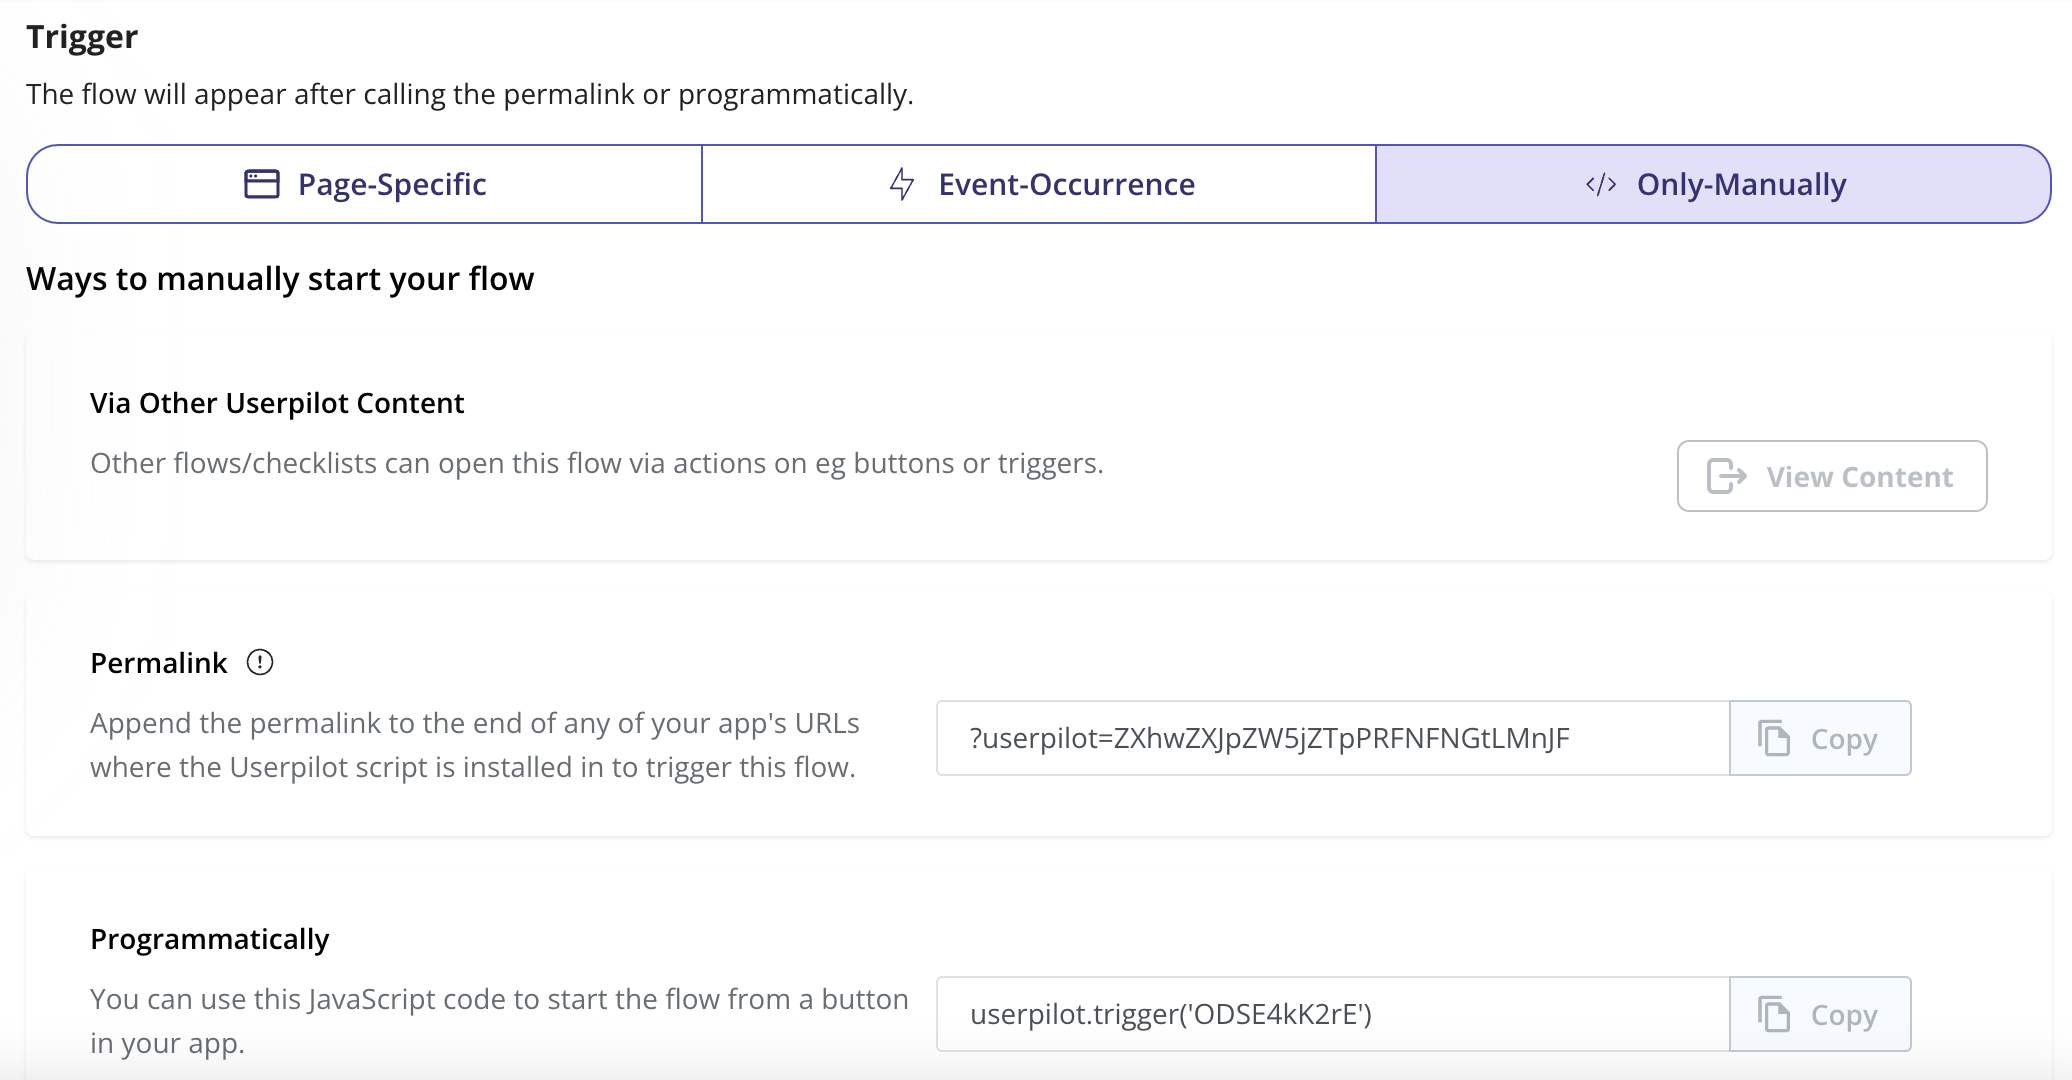
- Set triggering settings to Trigger Manually
- The flow will only appear when triggered via the provided script or permalink.
Final steps
After thoroughly testing the flows and ensuring everything functions as expected, update the targeting settings to specify the appropriate pages and user segments. Once configured, you can confidently promote and publish the flow live to your production environment.FAQs
Can we test page-change settings through Preview Mode?
Can we test page-change settings through Preview Mode?
Yes, page-change settings can be tested while previewing the flows and you would get redirected to the respective page as configured in the page-change settings of your flow.