Overview
Each user can create one email signature per added email address, and it will always appear at the bottom of the email. A signature can include your company contact details, logo, or profile image, and is automatically added as a footer to all outgoing emails, including replies.Get started
Go to Configure > Settings > Email > where you’ll find your Email signature.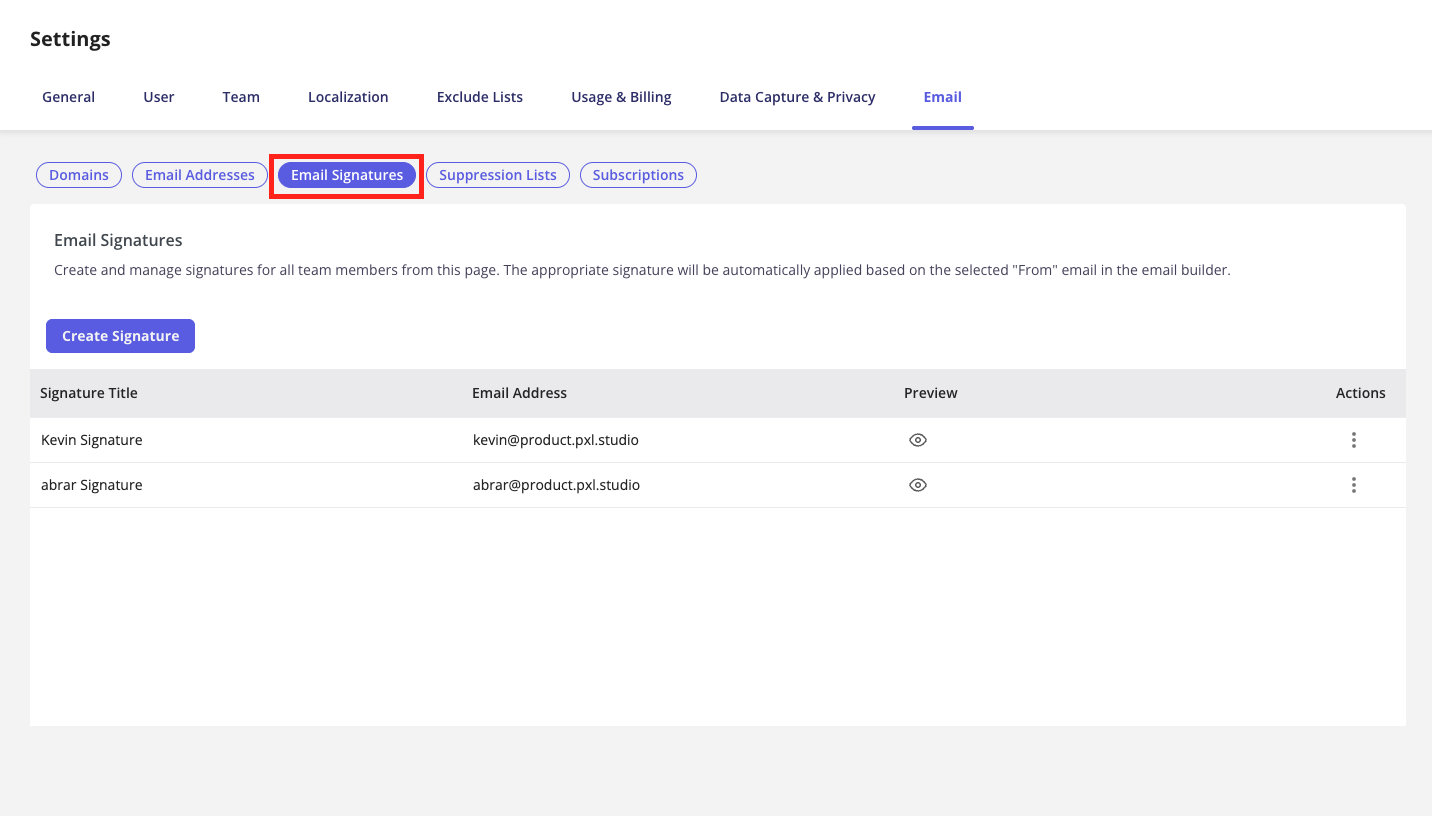
Step 1: Create your signature
Click Create Signature to begin customizing your email signature.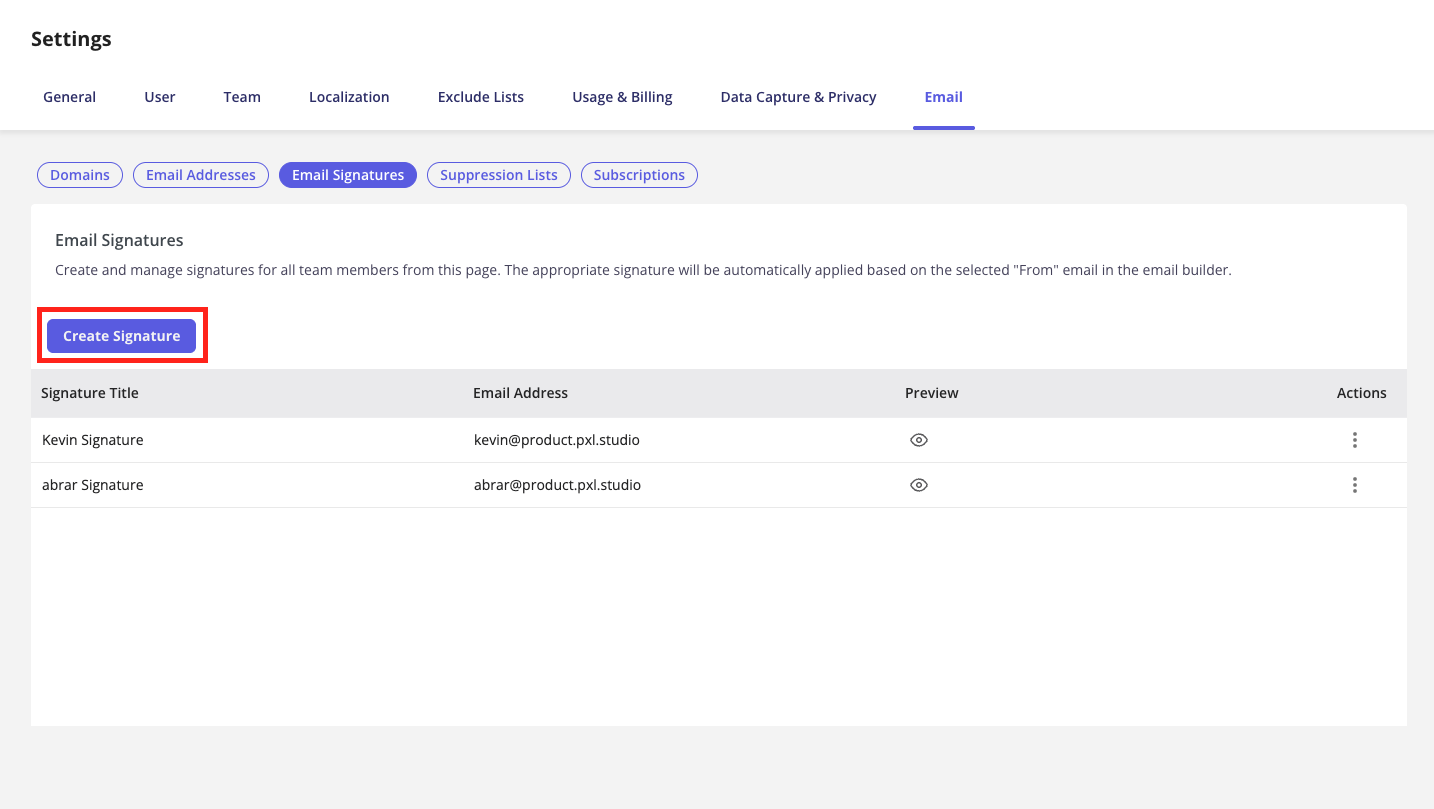
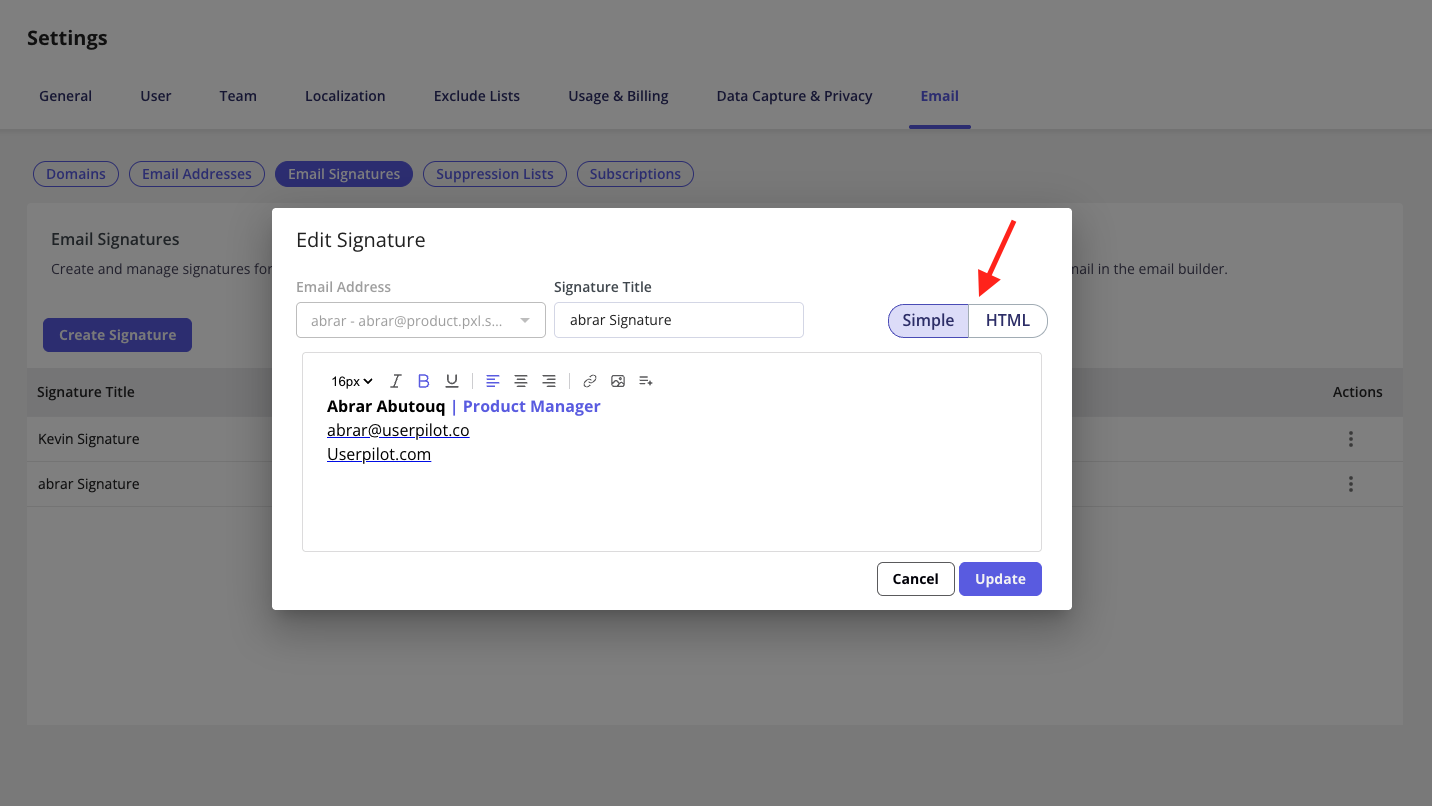
Step 2: Select the email address and assign a name to the signature
The email address list is pulled from the addresses you added under the “Send Email Addresses” tab. You can give each signature a name to help differentiate them in the table.
Step 3: Select how you want to create your signature
There are two ways to create your signature in Userpilot: Simple: Use a full WYSIWYG text editor to customize your signature. You can adjust:- Text size, color, bold, italic, underline
- Text alignment
- Bulleted and numbered lists
- Images to add your company logo
- Links to add your company website URL
- Personalization tokens
- You can upload a JPEG, PNG, or GIF for your logo
- The default image size is set to 40 pixels in height
- It’s only possible to have one logo
NoteThe email signature will always be included in outgoing emails, using the sender’s “From” address.